|
|
|
|
|
Ferrari 328 GTS Bare Metal Respray Diary
|
|
|
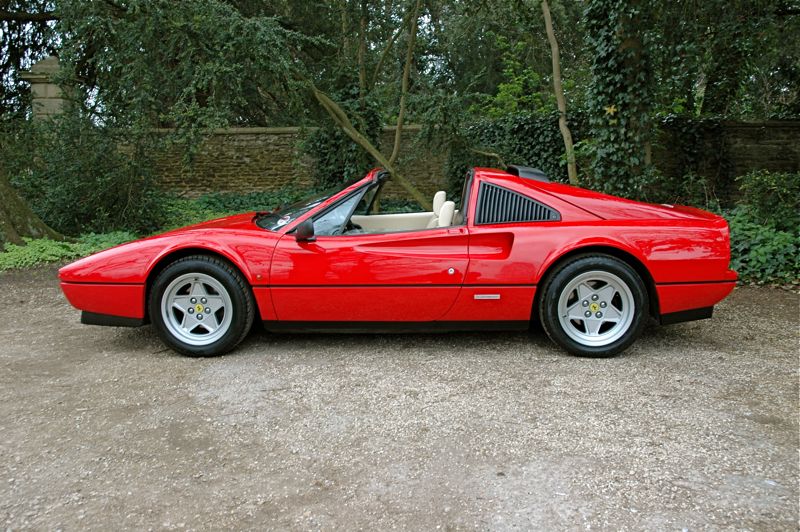
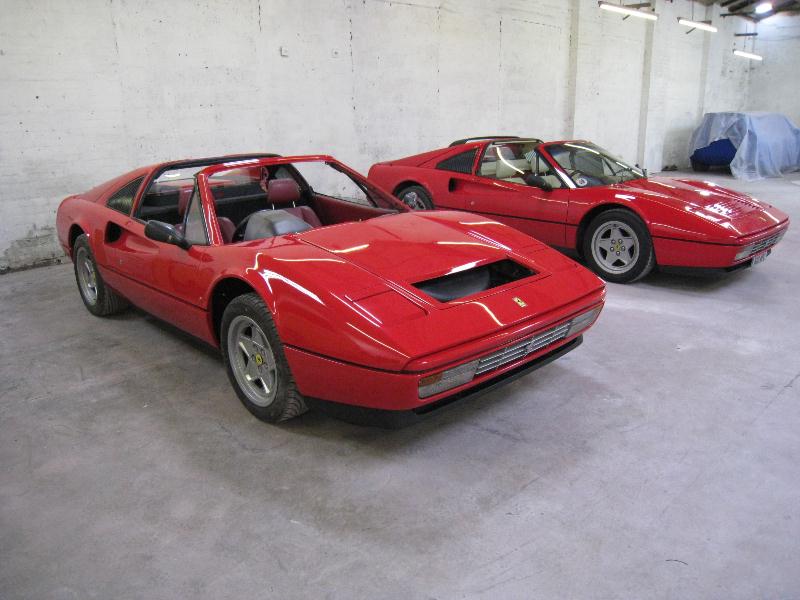
In 1997 I bought my first Ferrari, a 328GTS, over nearly 4 Years of ownership I enjoyed every one of the 18,000 miles I did including taking it back to it's home in Maranello, however it was time to move on and it was replaced by a 355GTS then a 550, a 575 and 2 599's. In September 2007 my next door Neighbour asked me to help him find a 328, he'd always liked my 1st Car and the time was right for him to buy, an initial drive out to look at some cars resulted in him buying the 2nd one we went to look at!, there's a few pictures here
The 599 is a fantastic car but everytime I watched the 328 pull out from next door I remembered the good times of owning one, it didn't help that our Tuscany tours in 2006/7 had three beautiful 328's a piece
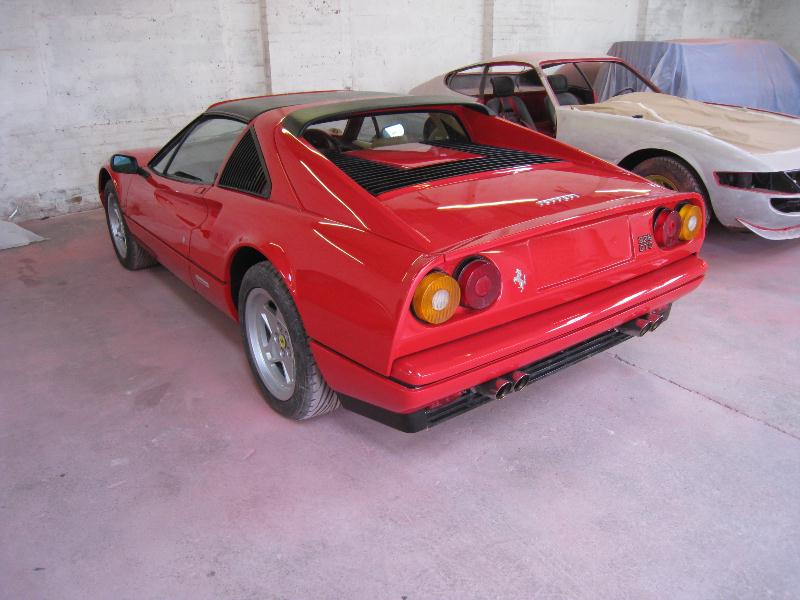
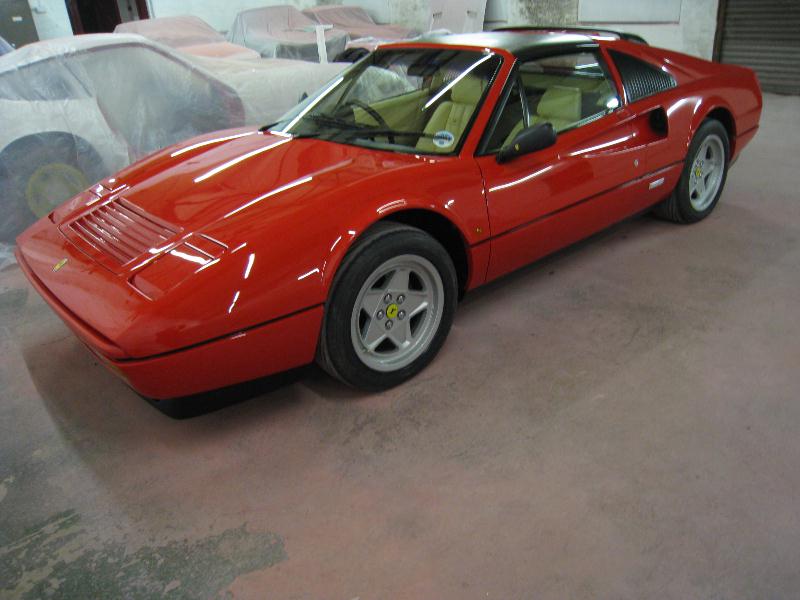
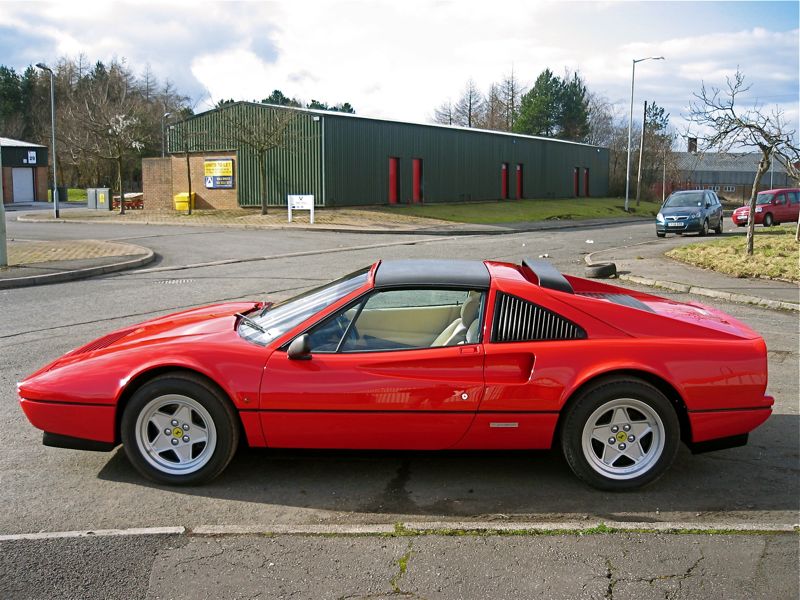
I fnally succumbed in April 2008 and Chassis 77153 arrived, finished in typical UK colours of Rosso Corsa/ Crema, it's an 88.5 model Year with the later interior and suspension, but pre ABS with concave wheels
|
|
|
|
 |
|
|
|
|
(Click on Picture for link to Pictures taken the day I collected it) |
|
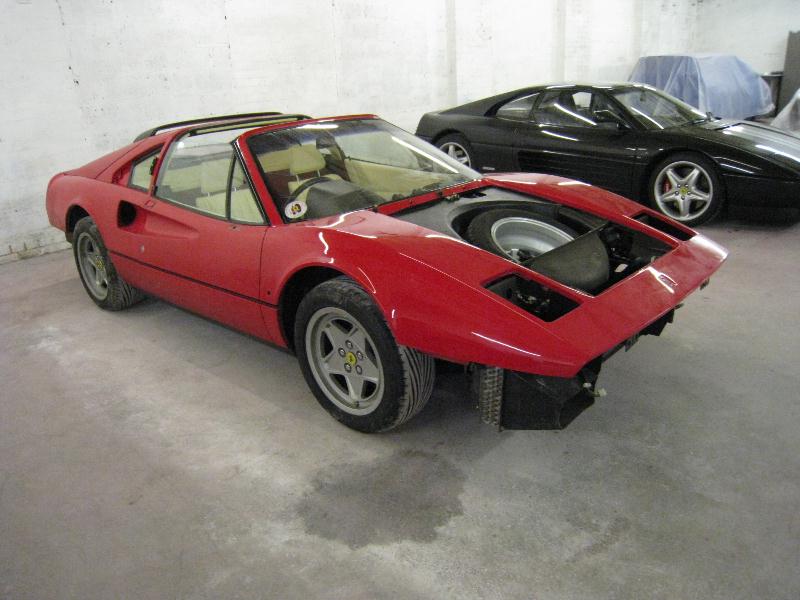
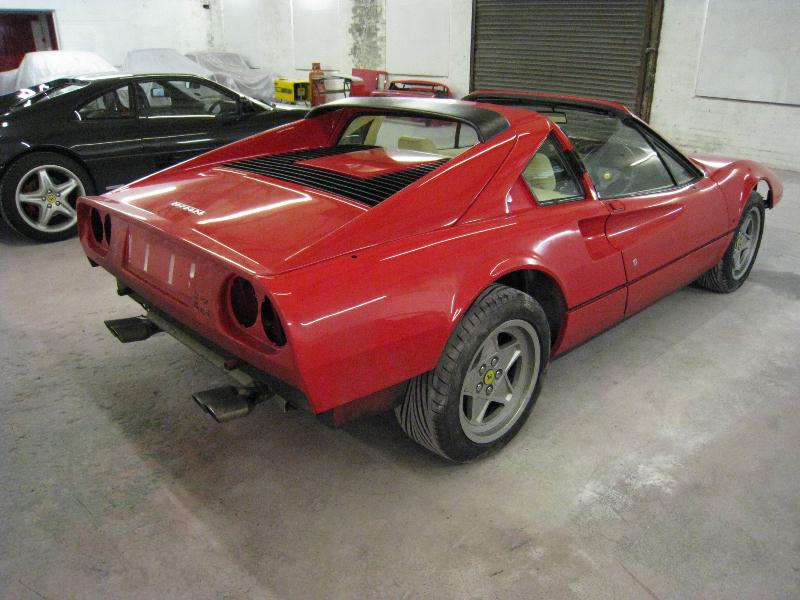
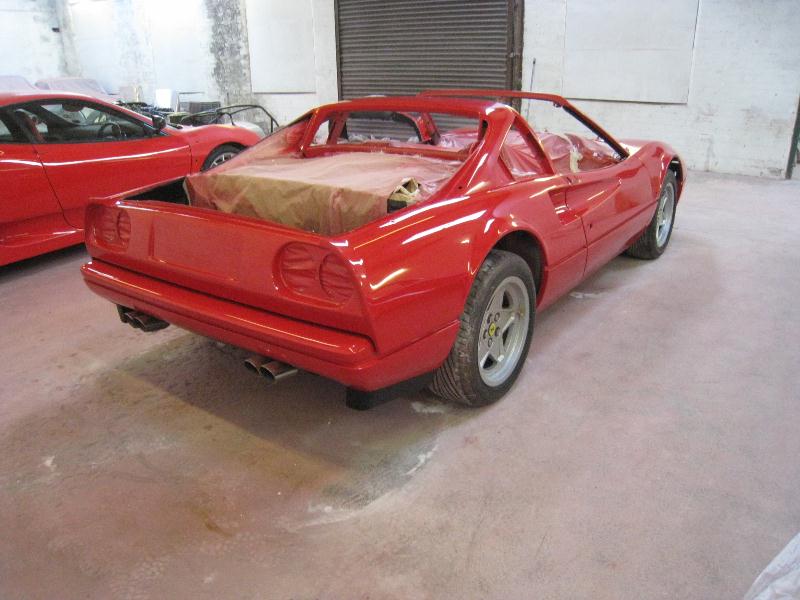
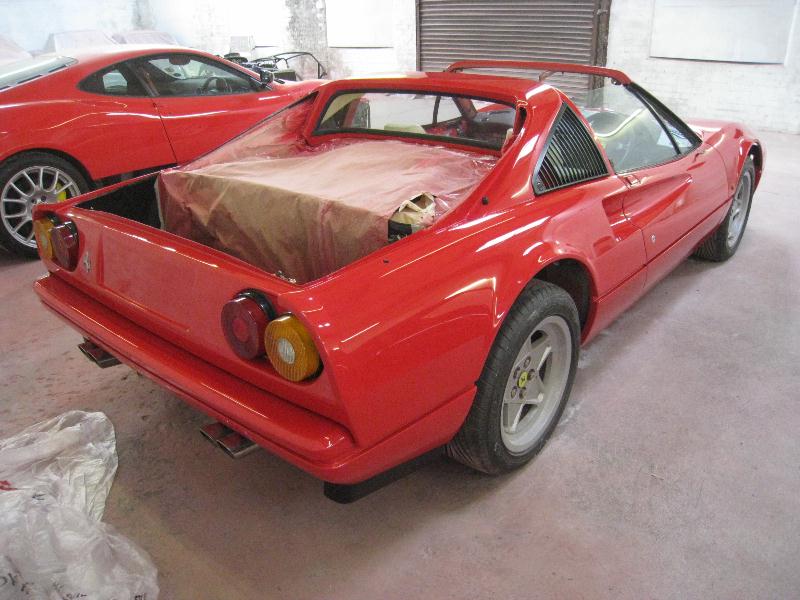
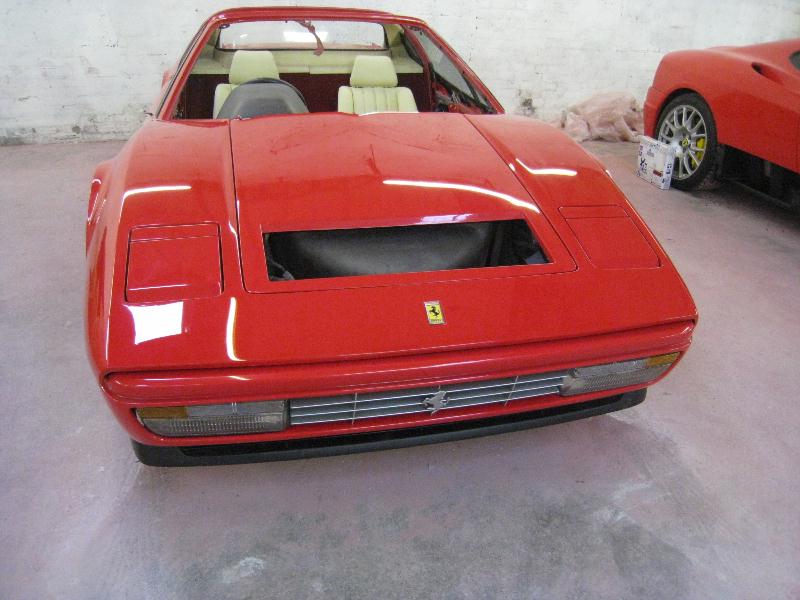
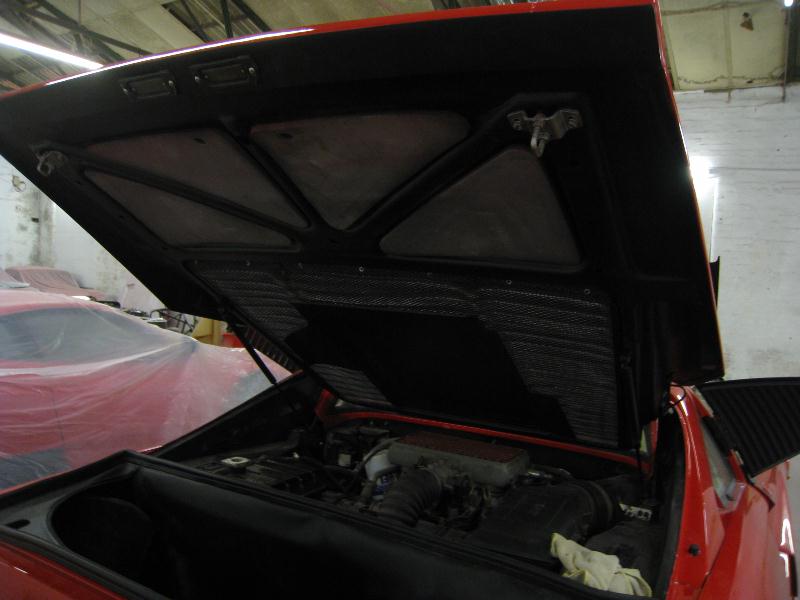
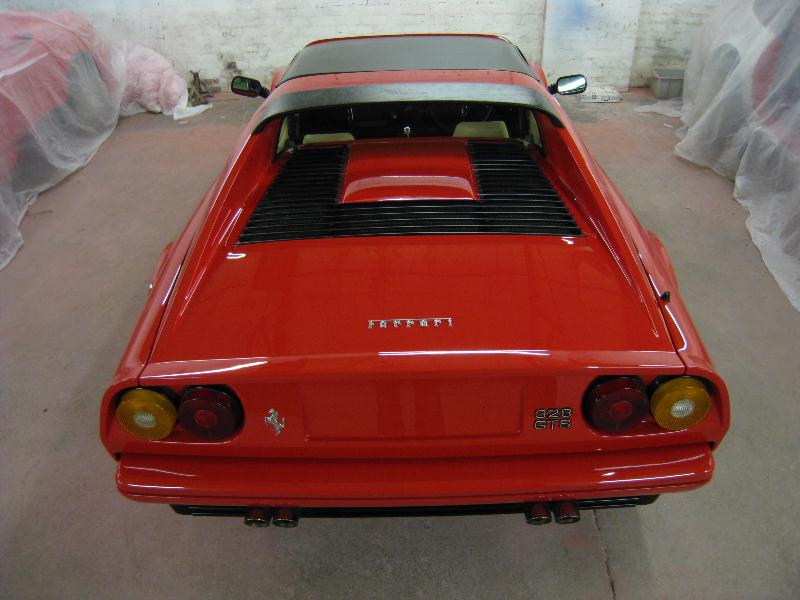
| Whilst the pictures look great the reality was that the car was cosmeticaly poor, the service history had been maintained and care taken to ensure the rust protection was complete but the paint had faded badly at the front and the engine cover looked like it had been sprayed with aerosol cans apparently after the previous owners Gardener had dropped a large plant pot on it! also not helped by being a couple of shades darker than the rest of the car, it had a myriad of small dints gatherered over it's 20 Years and generally looked unloved.
In May, Dave and Ian from Sportscar Protection were engaged to come and correct the paint and whilst carrying out their task, Al from Alsa Automotive dropped by to quote for repainting the bits that needed doing. By the time Al had looked at the car and been through my list he declared it would be easier to paint the whole car rather than trying to match the various bits. After a bit of discussion it was agreed that it would be a full bare metal respray and I provisionally booked it in for November to allow me to enjoy the car during the Summer
|
|
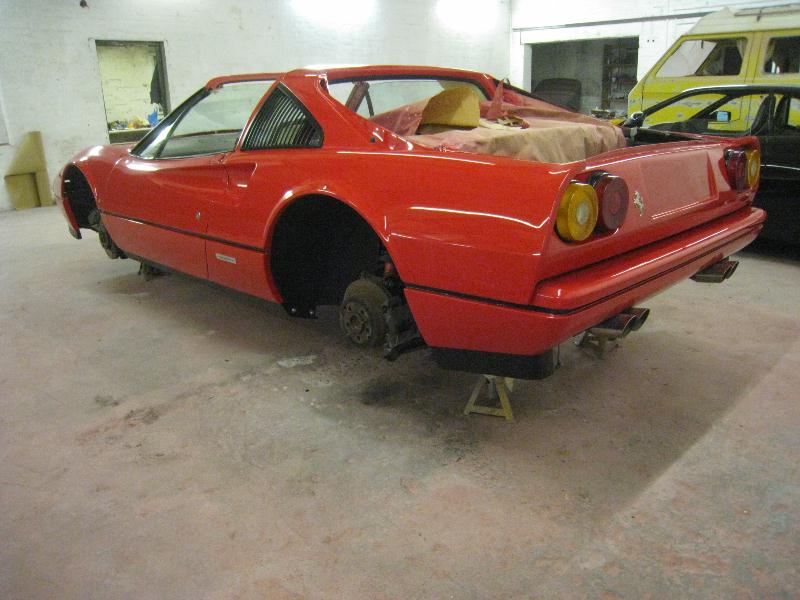
| Fast forward to 30th November and a nice drive to Wales to drop the Car off with Al, in the foreground is Bob's 328 just coming to the end of some similar attention, It seems my Car was there for only a moment before Al started stripping bits! |
|
|
|
|
|
|
 |
|
|
|
|
|
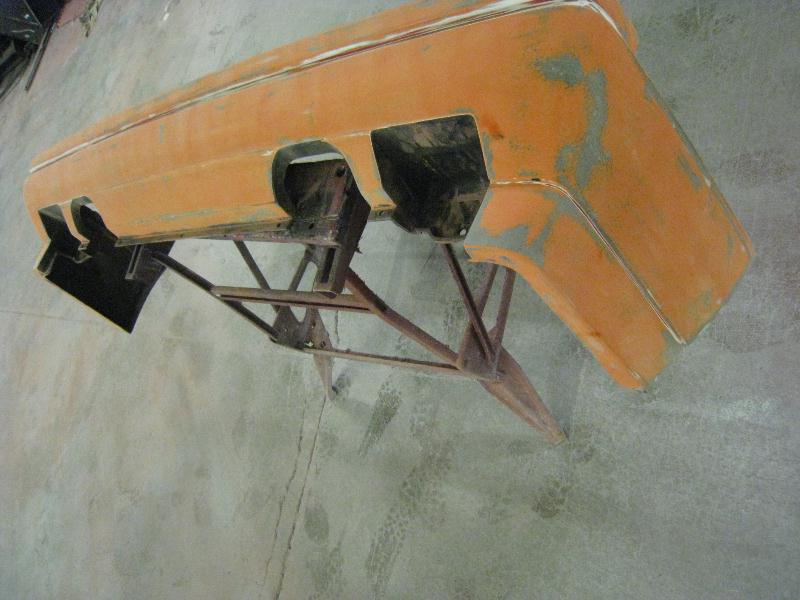
| 1st December and work begins, Al's notes - just begun the stripdown. No problems found, even the front bumper supports are solid & rust free (& they are ALWAYS the 1st things to go!). |
|
|
 |
|
 |
|
|
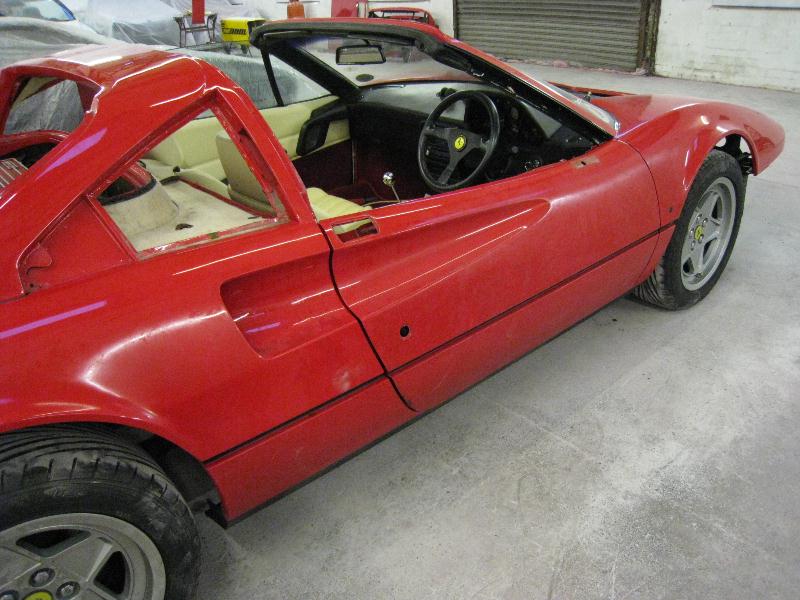
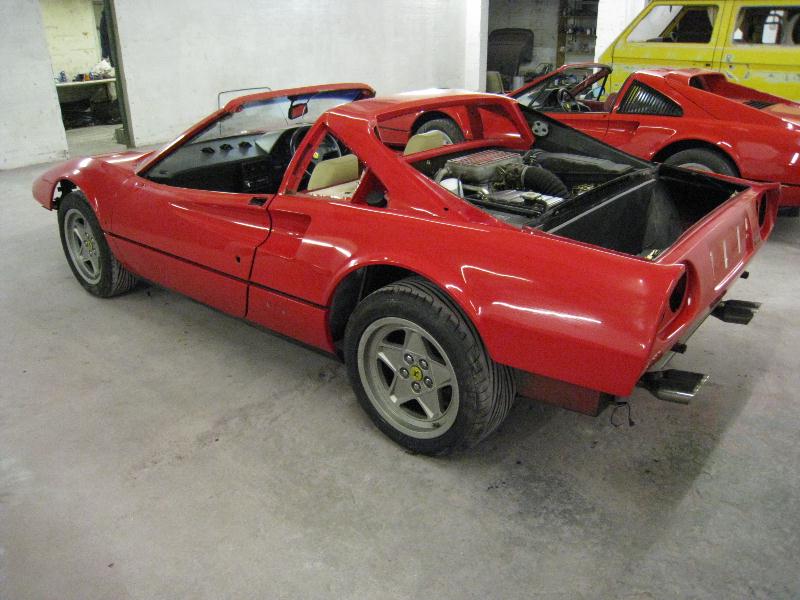
2nd December, Al's notes - The engine lid is of & stripped down (not paint stripped yet though), rear shelf leather trim removed (& stored VERY carefully!) rear quarter glass & rear window removed & o/s door stripped out including glass, my w/screen guy should be with me by Saturday to do yours & Sy's, I'm aiming to have everything I need removed finished tomorrow |
|
|
 |
|
 |
|
|
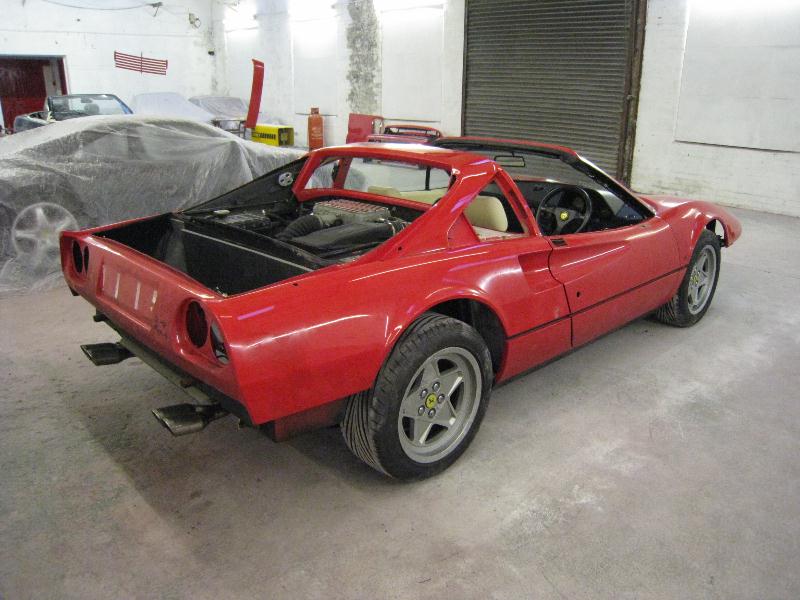
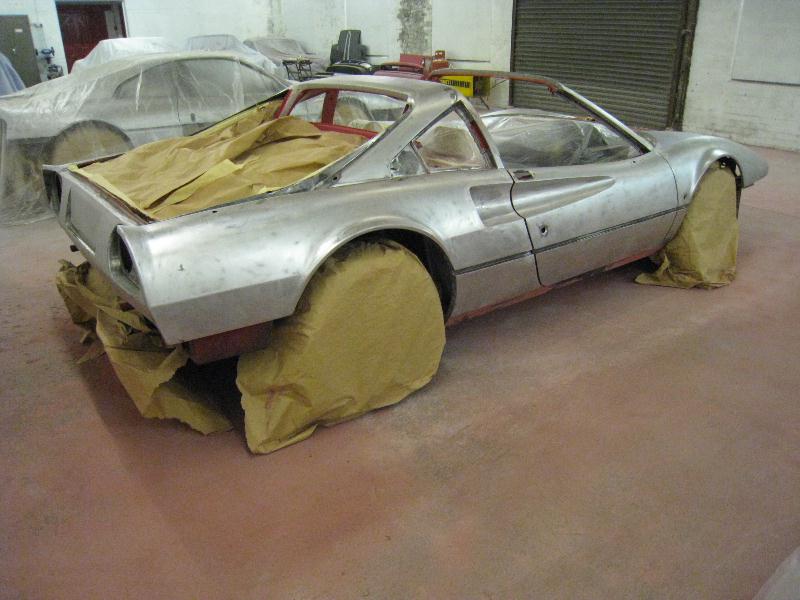
3rd December, Al's notes - She's all stripped out (wheelarch liners and all). No problems at all that I've come across, she's obviously been a very well looked after car. I'll re-adjust/shim the doors tomorrow & begin stripping the paint. |
|
|
 |
|
 |
|
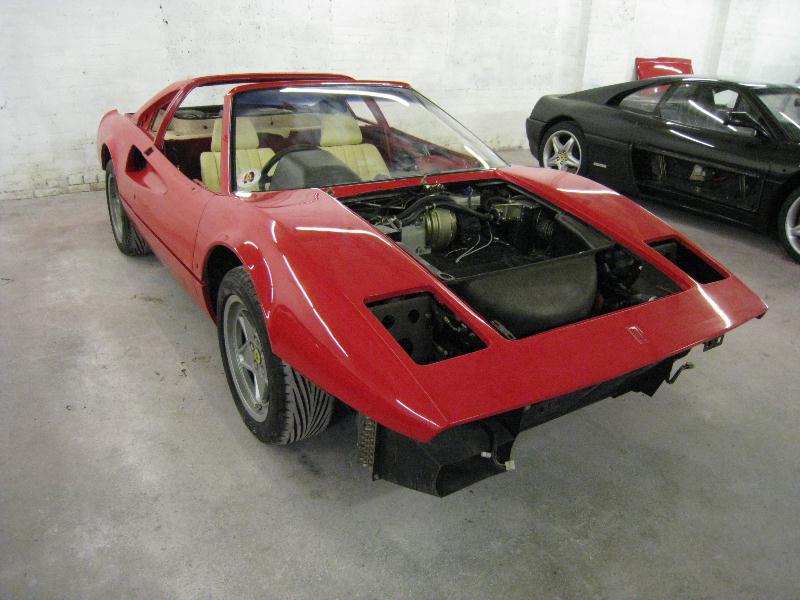
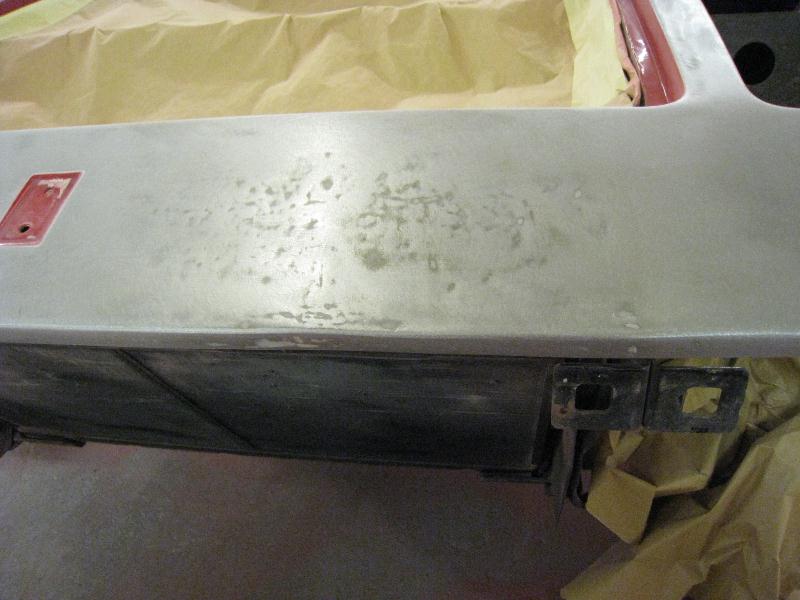
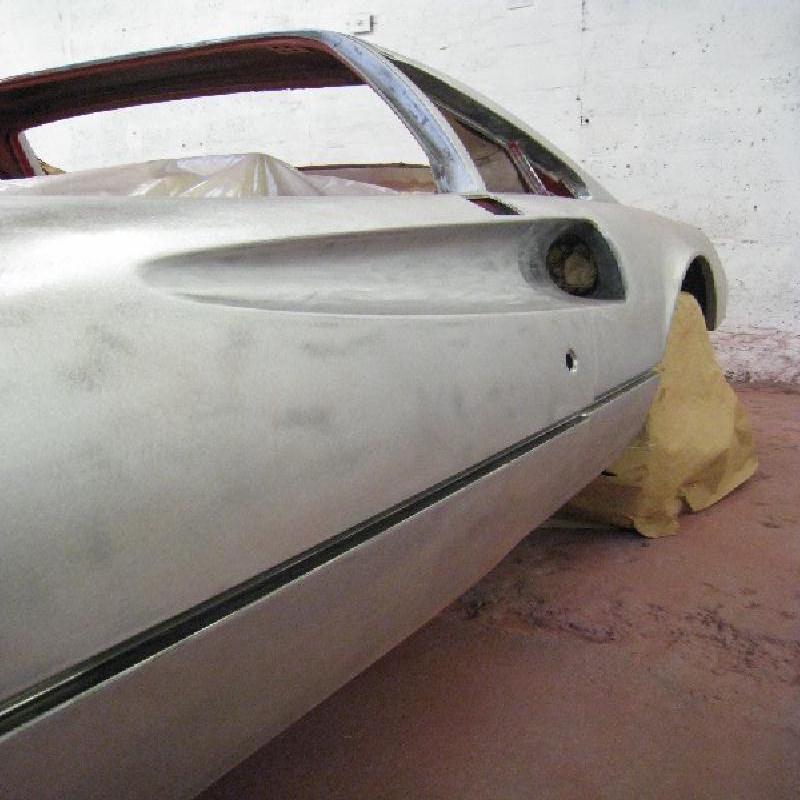
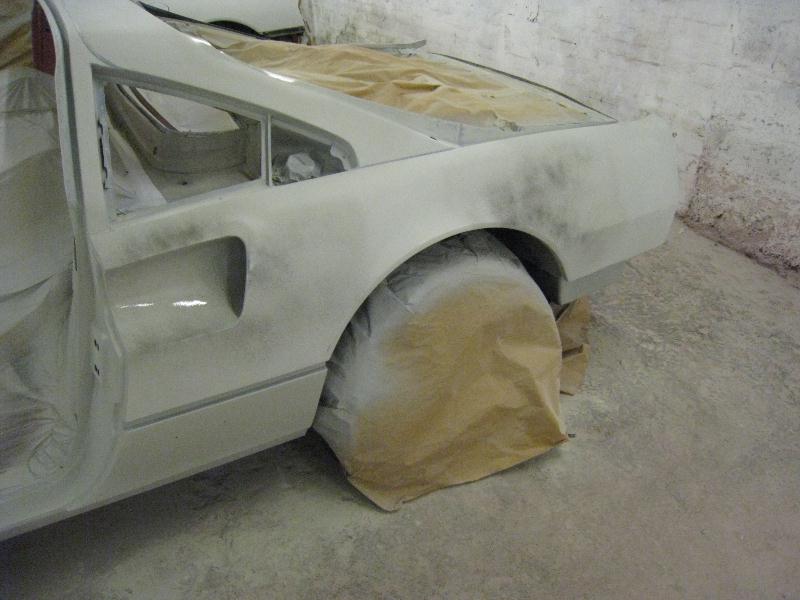
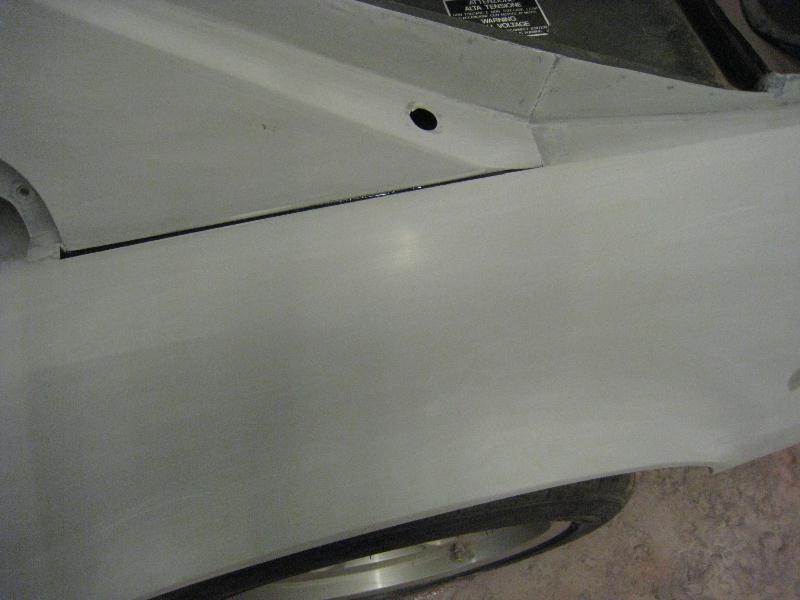
| 4th December, Al's notes - interior, luggage area & engine bay masked off & front clip stripped. As you can see, she's had 3 previous repaints on the front (I'll find out how much elswhere tomorrow). No real horrors - only some damage to the nose (pictured), I've used a soft interface pad on the sander so any galvanising left under the paint gets minimal damage. |
|
|
 |
|
 |
|
|
|
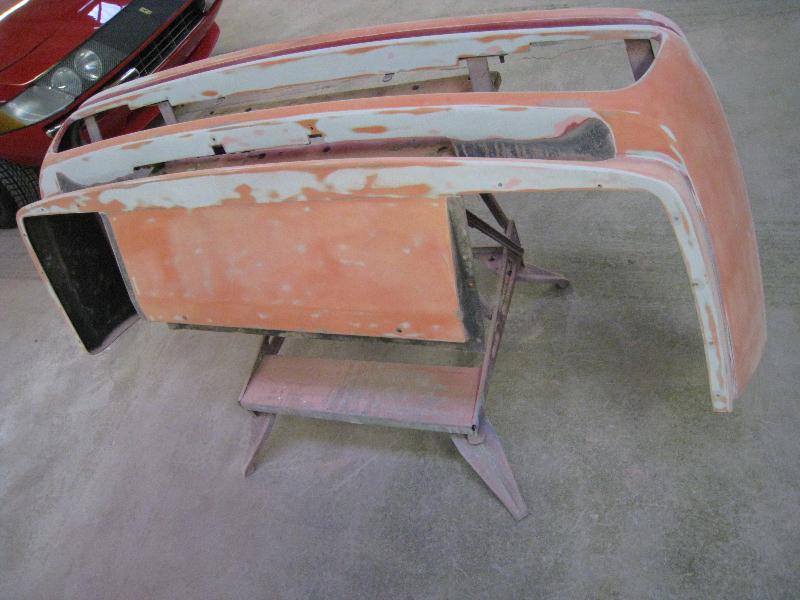
5th December, Al's notes - o/s door & o/s rear quarter stripped. The door had original paint on it, the rear quarter had one repaint over! I'm aiming to have the remainder of the body stripped tomorrow & then the detail stripping (luggage lid reveal, engine lid reveal, centre suage line etc) done on Sunday/Monday. |
|
|
 |
|
 |
|
|
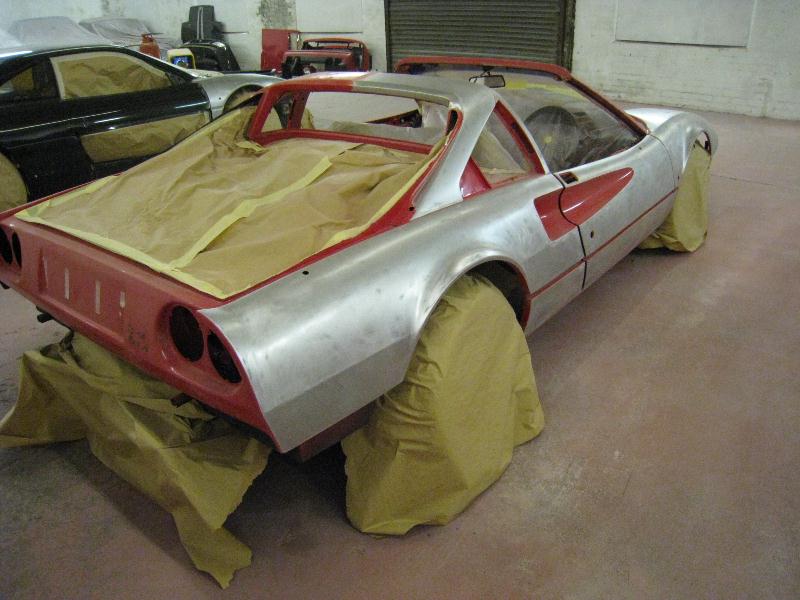
7th December, Al's notes - Screen is out (& in one piece). She's totally solid around the windscreen aperture - no hidden horrors. Pics of yesterday's progress - n/s door & rear quarter stripped. (Paint - again - was original on the door & one repaint in solid colour [i.e no lacquer] on the rear quarter). Today - 'A' post uprights stripped & rear panel stripped. Tomorrow I'll be doing the detail stripping - everywhere there is still red, basically |
|
|
 |
|
 |
|
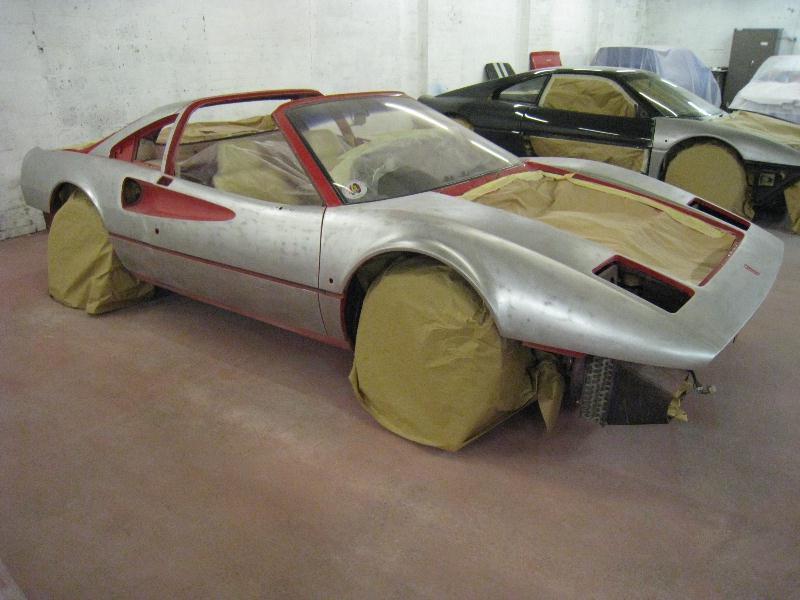
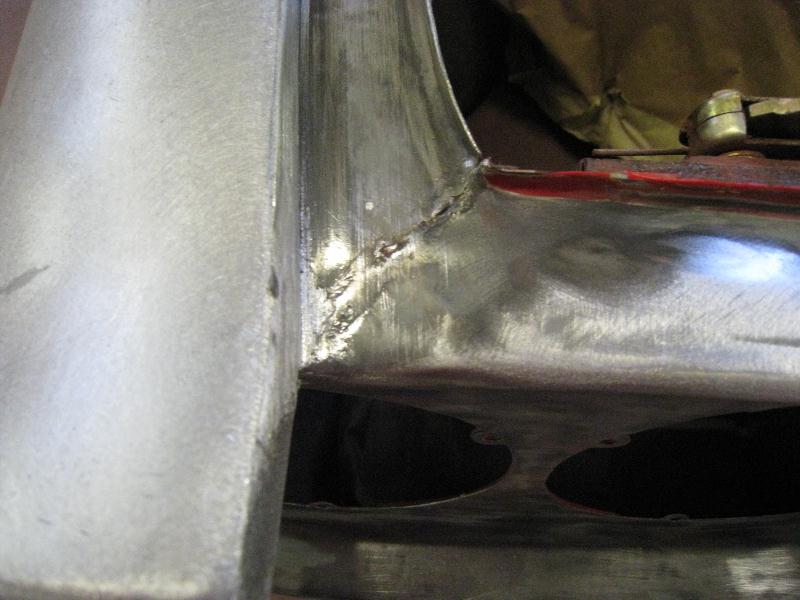
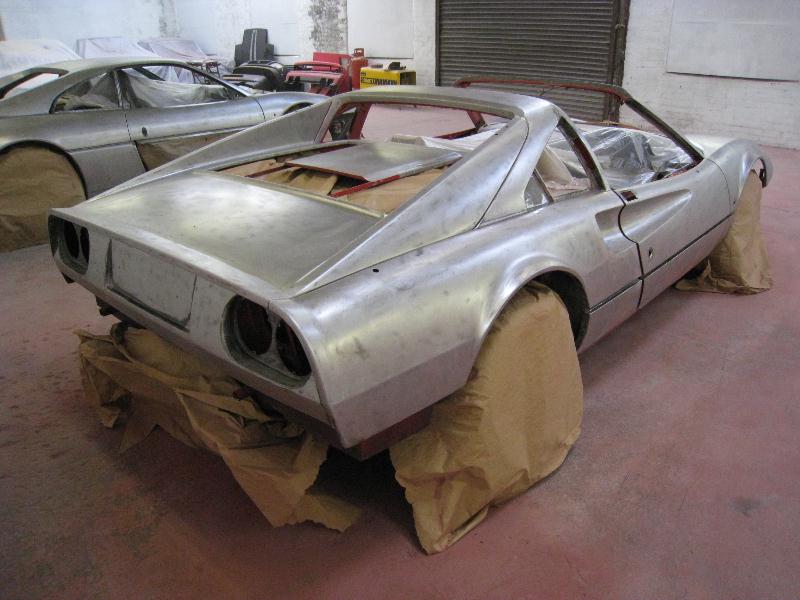
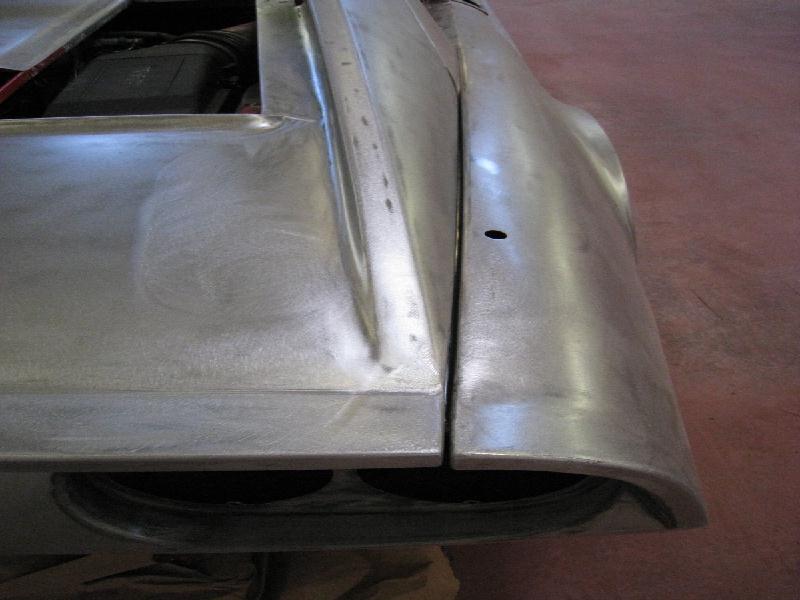
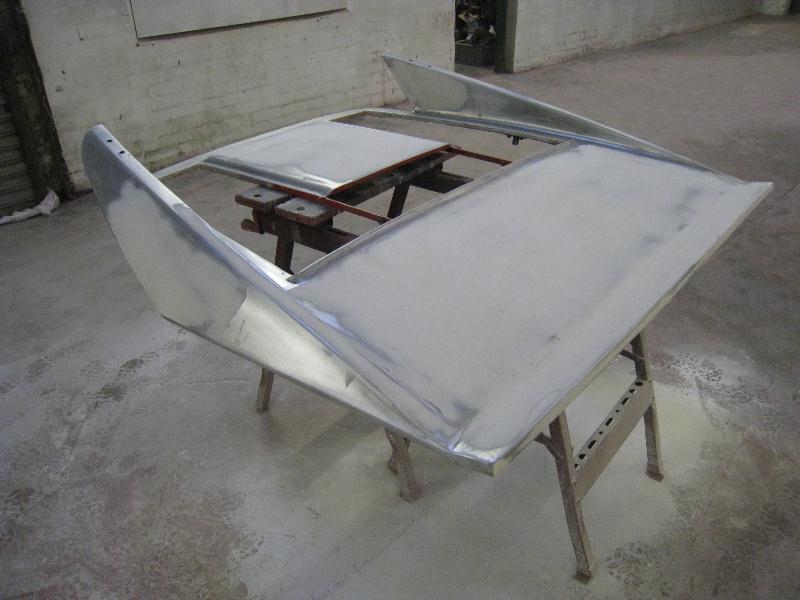
| 8th December, Al's notes - The n/s & front end have now been stripped completely (all the detail/fiddly/time consuming stuff done!). The minor rust around the rear quarterlight window has been spot-sandblasted out, but I will need to cut out & weld a small section into the area of the engine lid aperture which I recall you knew about anyway |
|
|
 |
|
 |
|
|
|
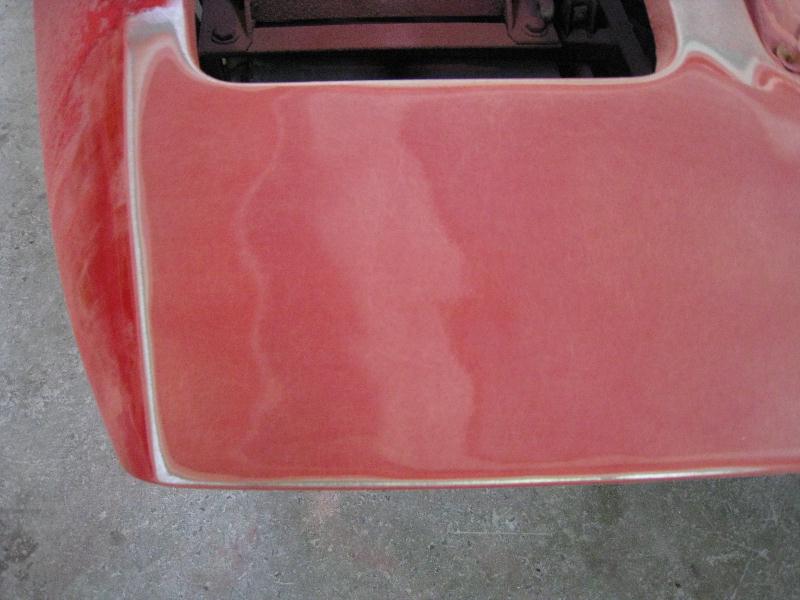
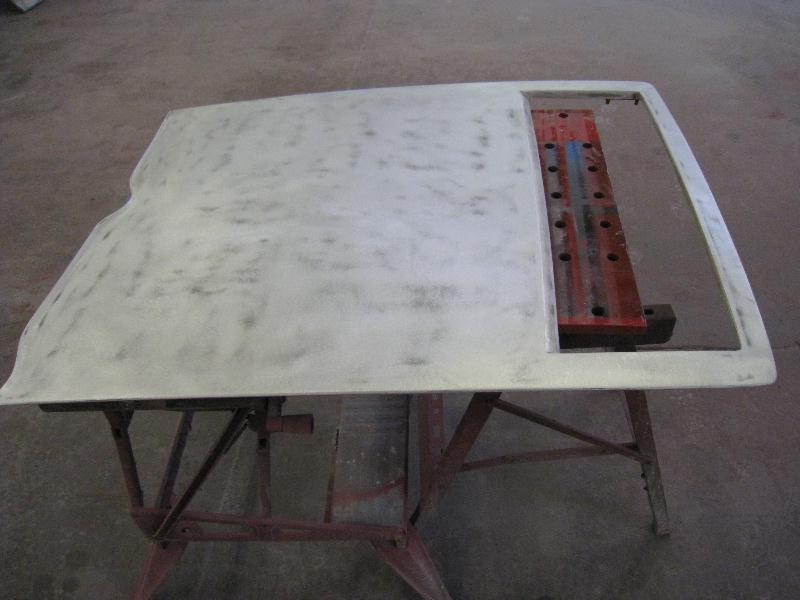
| 9th December, Al's notes - All of the 'detail' stripping on the body is done. The engine lid (pic not included) is nearly stripped, there was a helluva lot more filler in it than it needed. I would say that it looks more like it's been off for servicing or something & has been dropped or fallen against something |
|
|
|
 |
 |
|
|
|
|
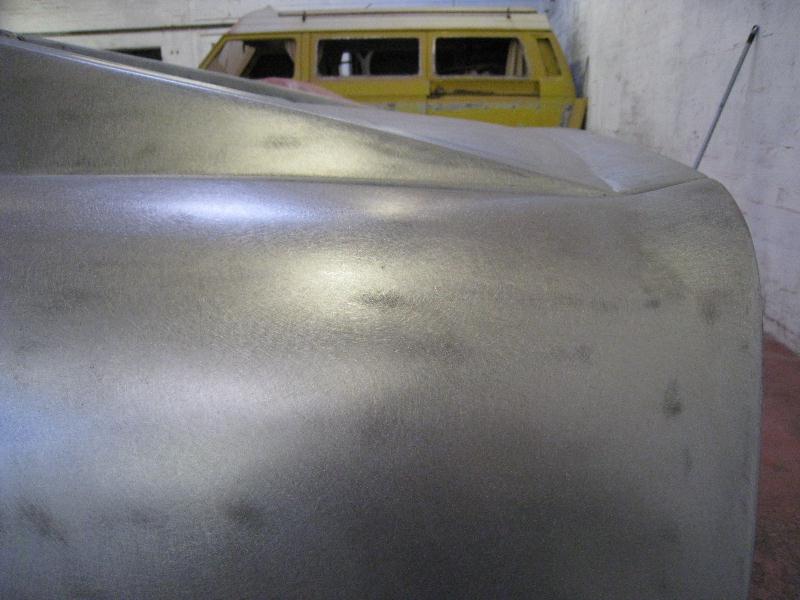
10th December, Al's notes - Having ground the patch on the endine lid aperture, turns out it was just a crack, so I've 'V''d it, drilled the end of the crack & welded it up.
Also engine lid is stripped & I'm battling with aligning it properly |
|
|
 |
|
 |
|
| 11th December, Al's notes - I've re panel beaten the front end damage - it'll mean less depth of filler. 1st coat of filler applied & blocked down, 2nd coat applied, 2nd coat blocked down. I'll be taking the engine engine lid back off tomorrow & doing the final stoppering (a very fine filler) on the body & finishing that with 180 grade paper |
|
|
 |
|
 |
|
|
| 12th December, Al's notes - Not much visual progress I know, but fully cleaned down, engine lid removed & a coat of stopper (an ultra fine filler) applied. |
|
|
 |
|
 |
|
|
| 13th December, Al's notes - all of the stopper is now blocked down with 180 grade sandpaper, masking removed & everything fully cleaned off & hoovered out |
|
|
|
|
 |
|
 |
|
|
|
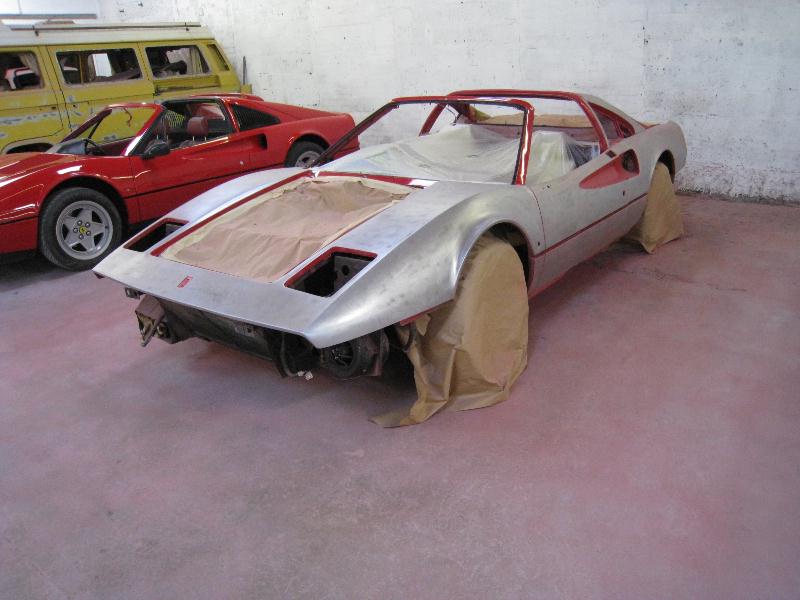
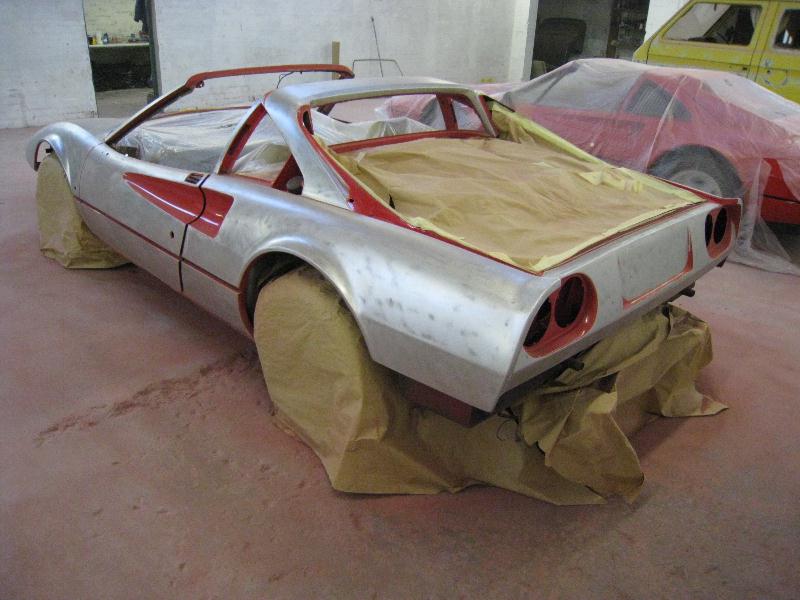
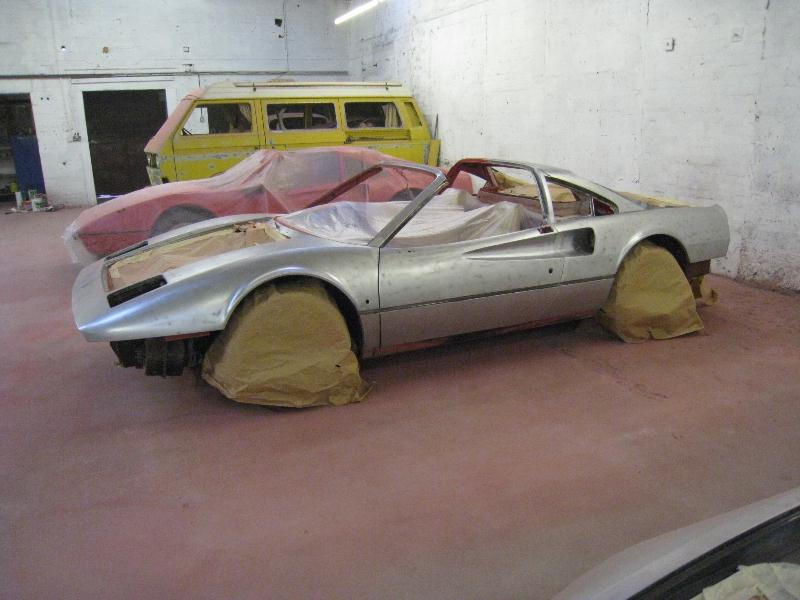
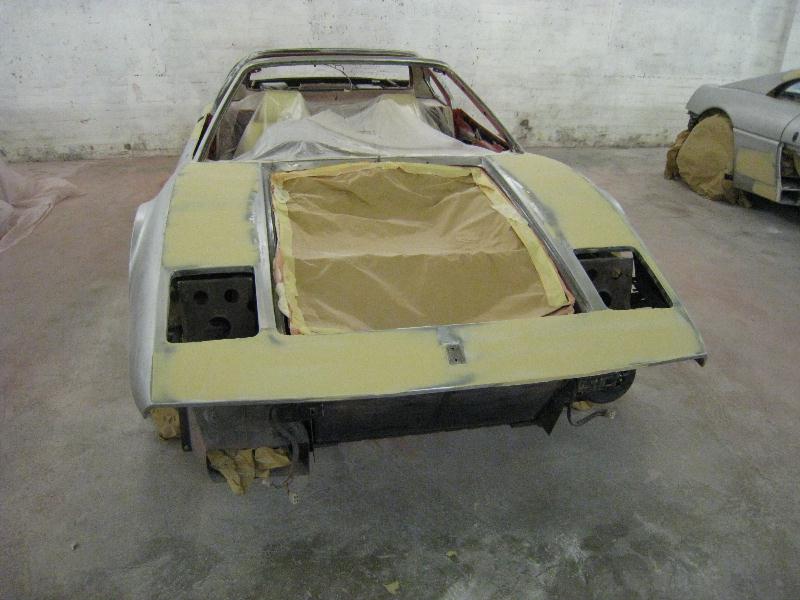
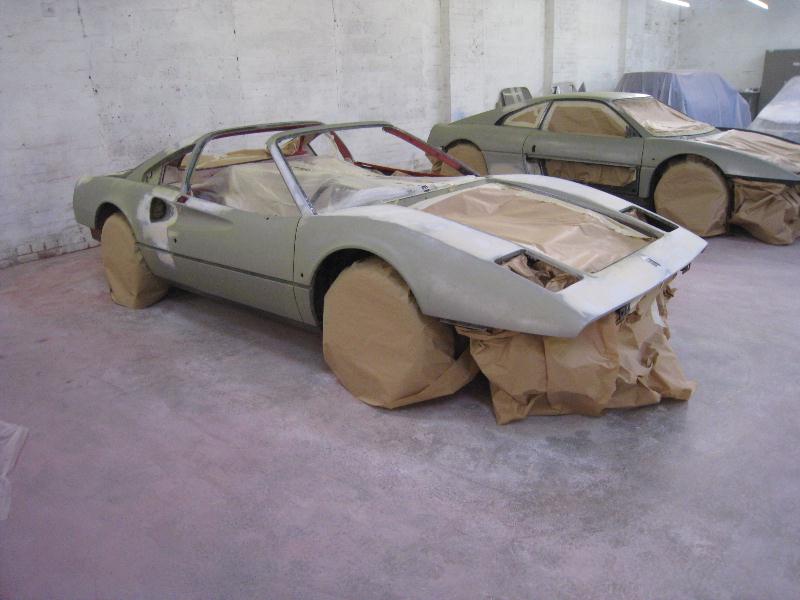
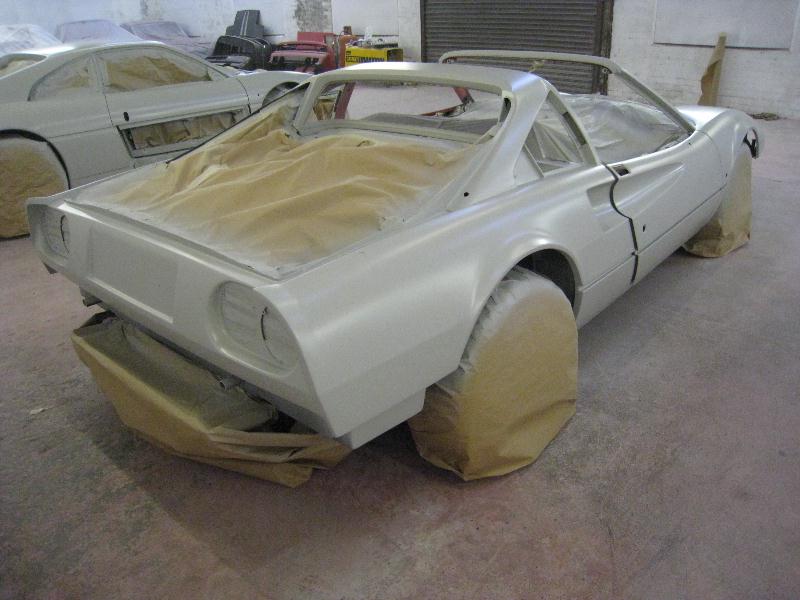
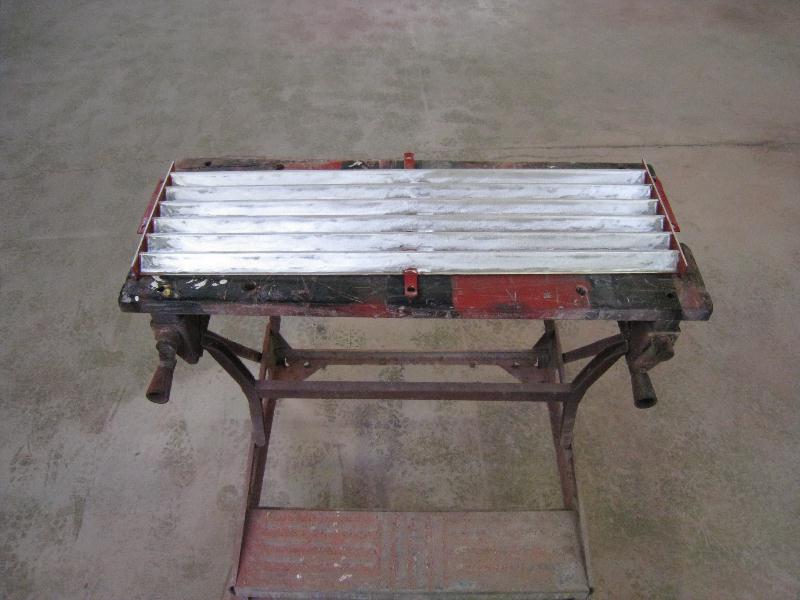
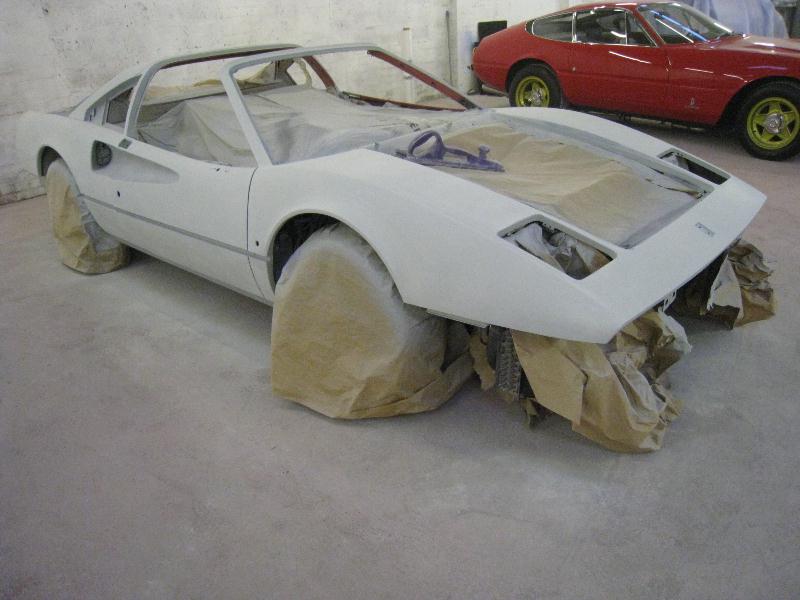
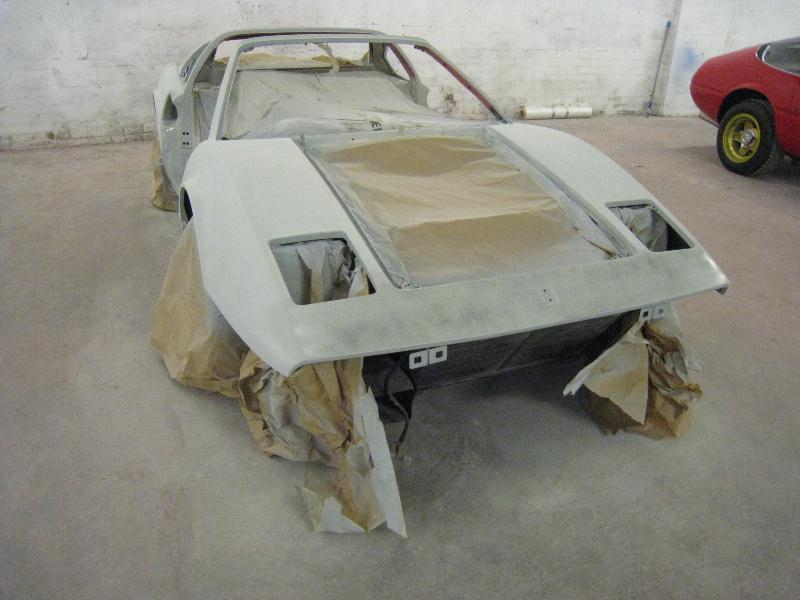
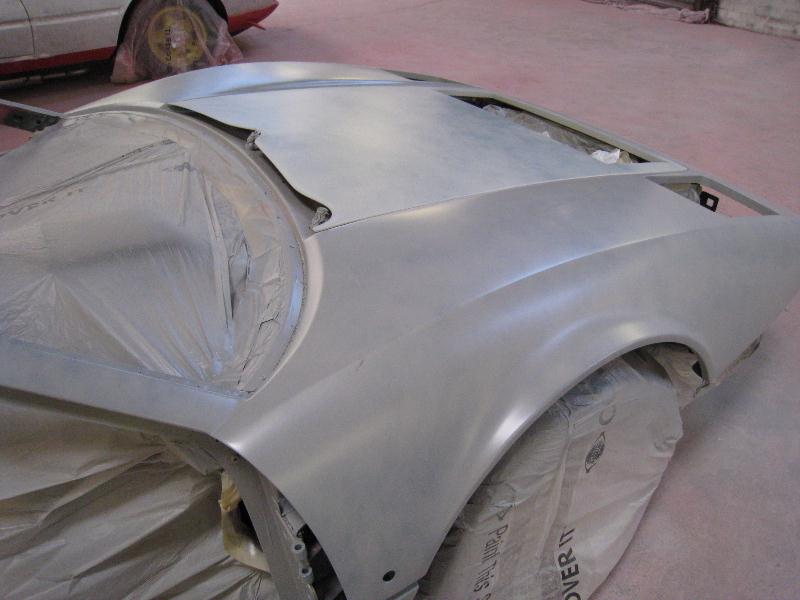
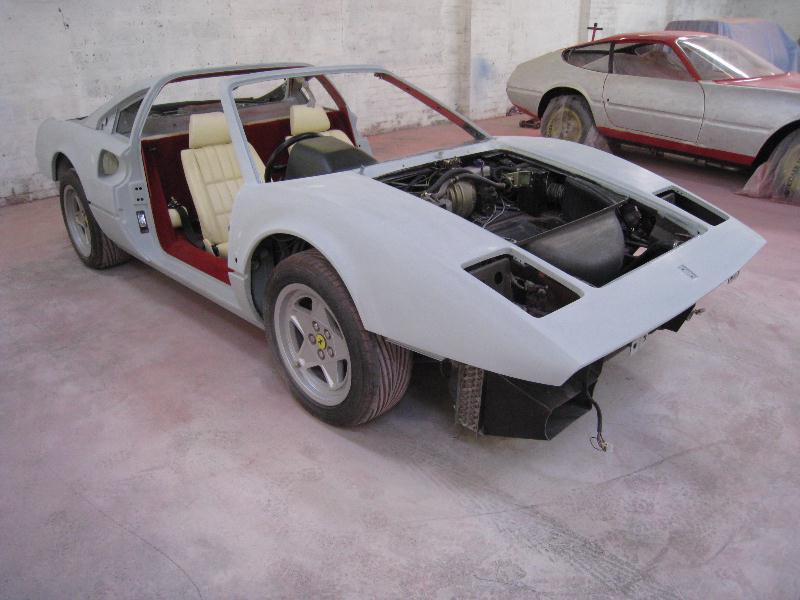
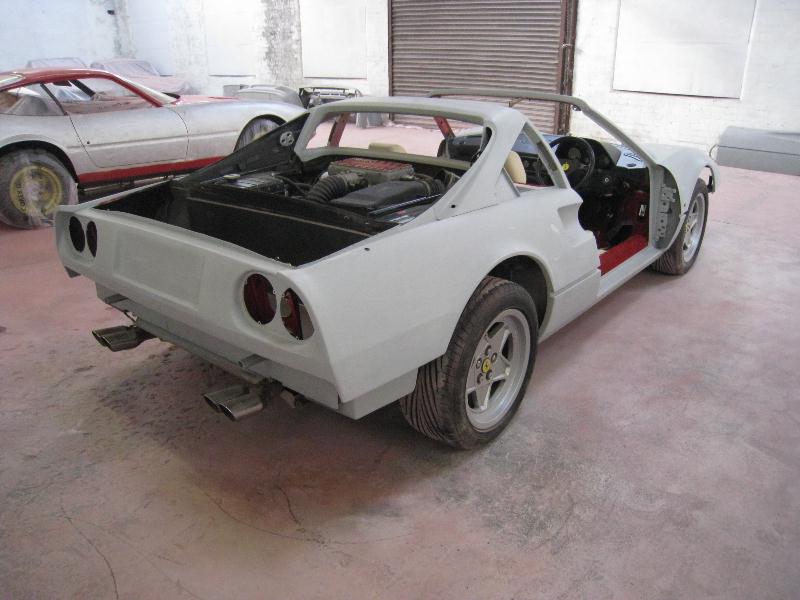
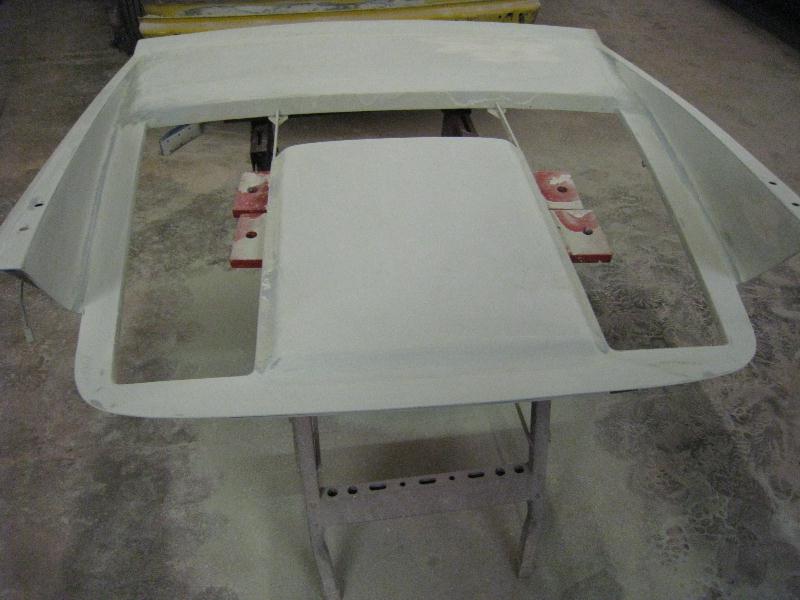
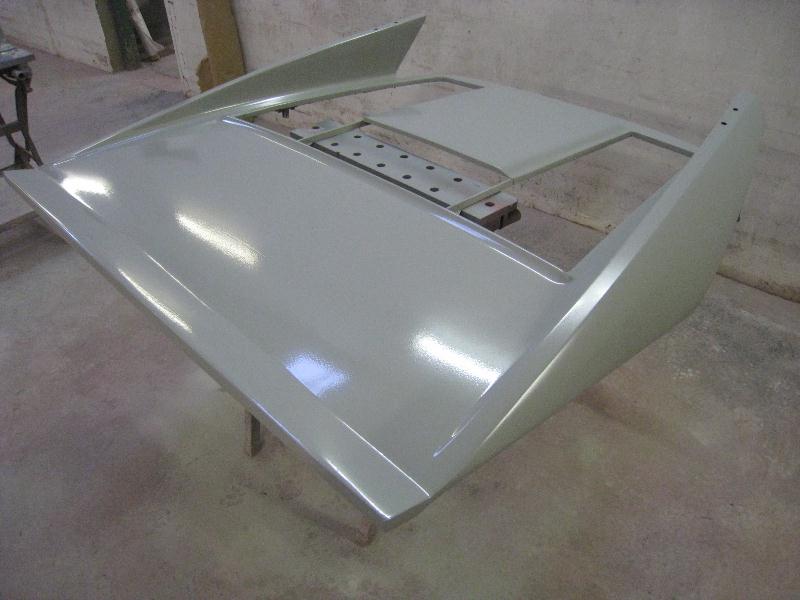
14th December, Al's notes - Masked up & a coat of wash etch primer applied to the bare metal. Then 3 coats of HS high build primer applied. Then a light guide coat. |
|
 |
|
 |
|
|
|
|
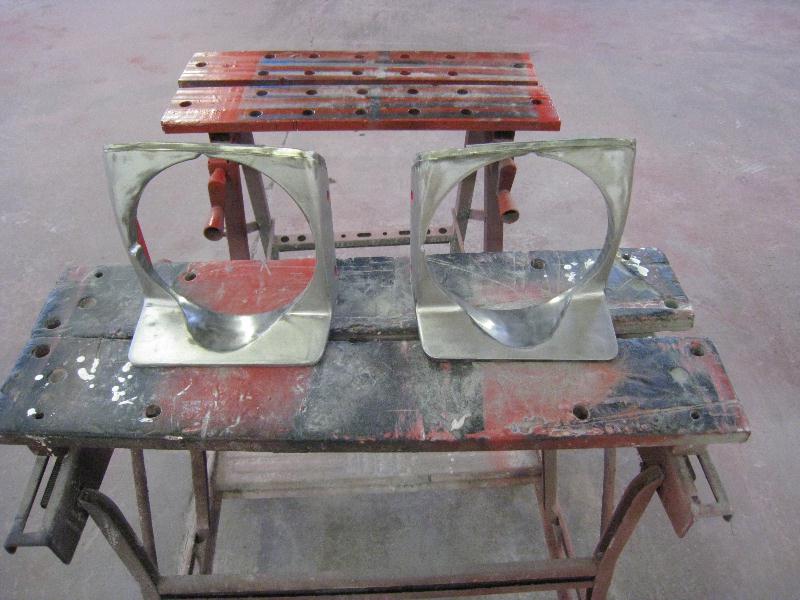
20th December, Al's notes - Luggage lid stripped, headlamp surrounds stripped, headlamp pods stripped & fillet panels stripped. Just the grille & bumpers left to strip, I'll be beginning the filler work on the engine lid tomorrow |
|
 |
|
 |
|
|
|
|
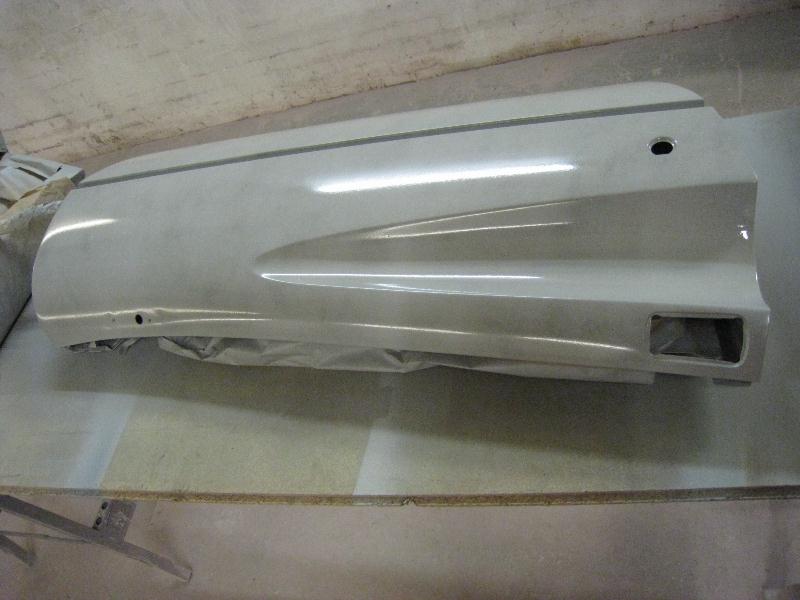
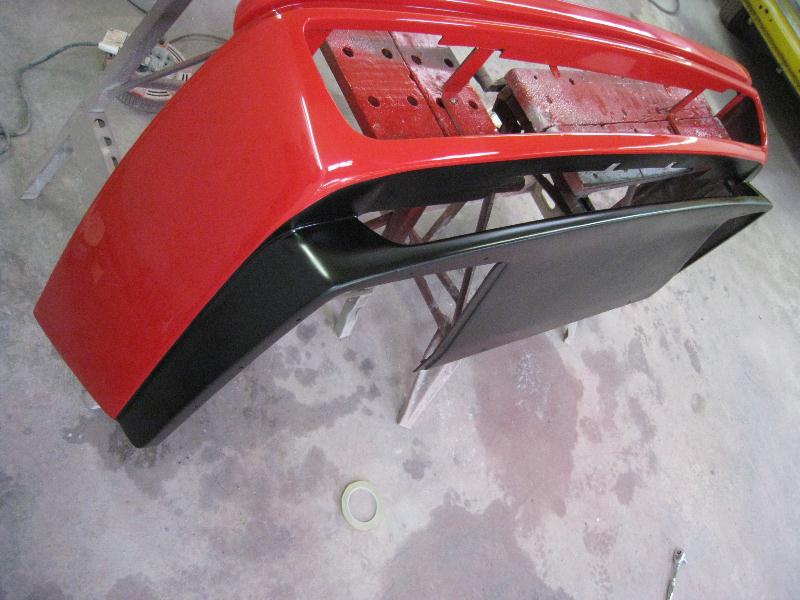
22nd December, Al's notes - Engine lid 1st coat of filler & blocked down & 2nd coat applied. There is no great depth of filler - just a couple of mm - just panel has some widespread hollow's to it from the previous repair. Also rear bumper stripped, the process for doing the GRP panels is slightly different - I use 180 grit sandpaper with the soft intermiate pad so as not to deform the moulding lines or dig into the panels, it does take a bit longer this way, but makes for a much better surface to work on. |
|
 |
|
 |
|
|
|
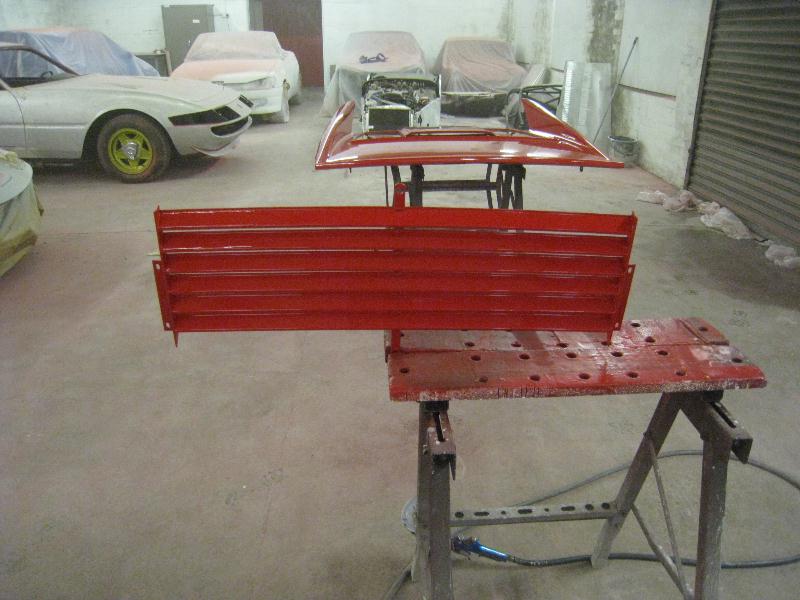
23rd December, Al's notes -The rear grille is with our local plating/anodising firm at the moment, they do all of the zinc & clear, black anodising & passivating I need, I think there a quite a few companies around that do this type of work, it's usually worth asking any local engineering firm whom they use. Pics from today, front grille stripped, front bumper stripped & 2nd coat of filler blocked down on the engine lid, just a light coat of stopper now before priming. |
|
 |
|
 |
|
|
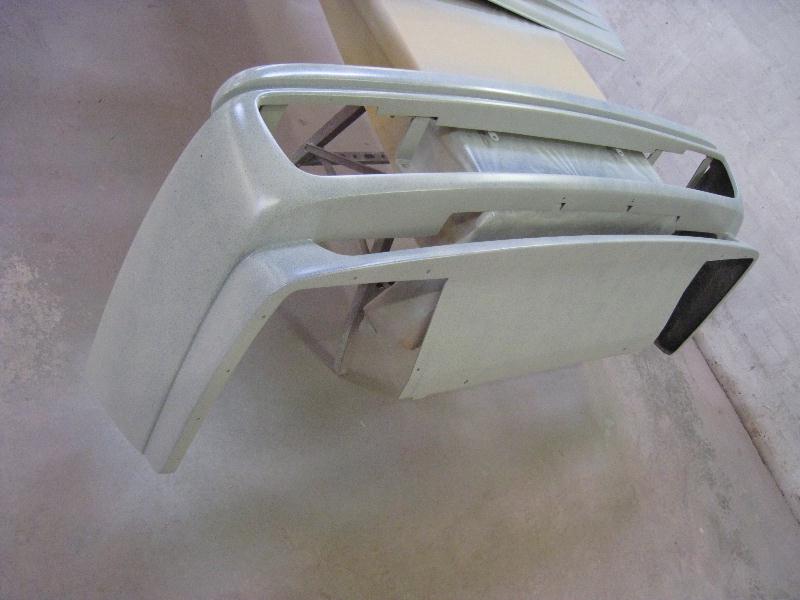
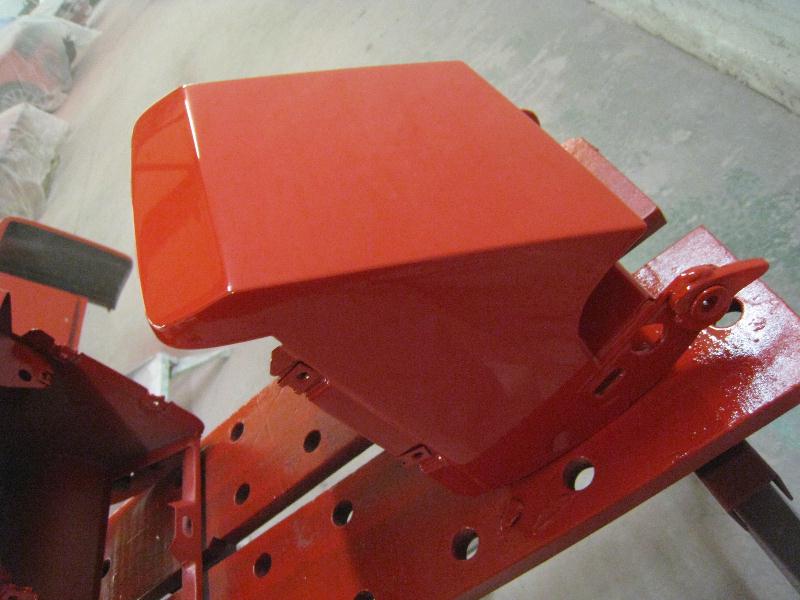
24th December, Al's notes - Bumpers, lamp pods, fillet panels, lamp cover panels & front grille all primed. |
|
 |
|
 |
|
|
|
|
|
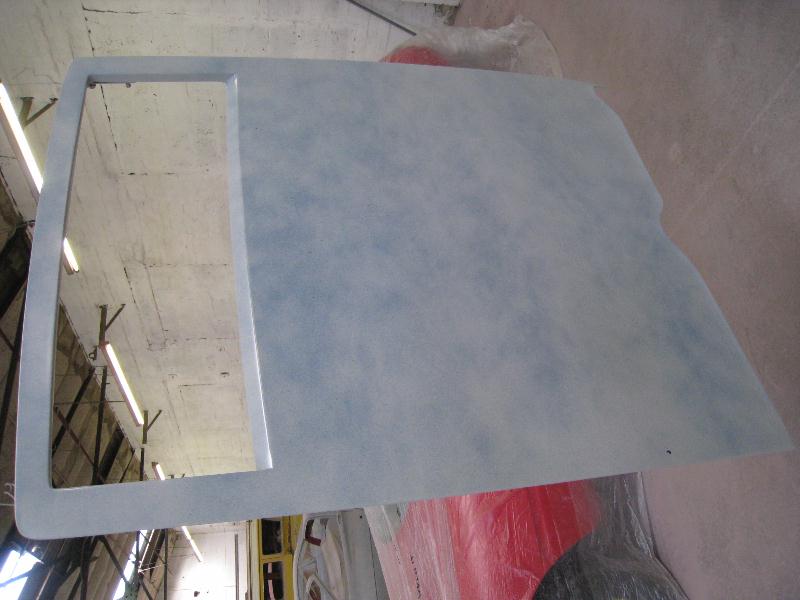
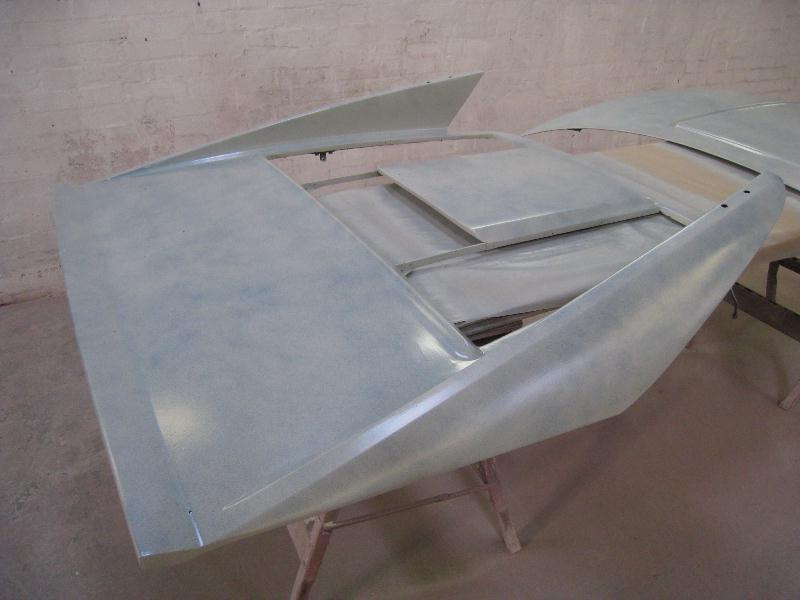
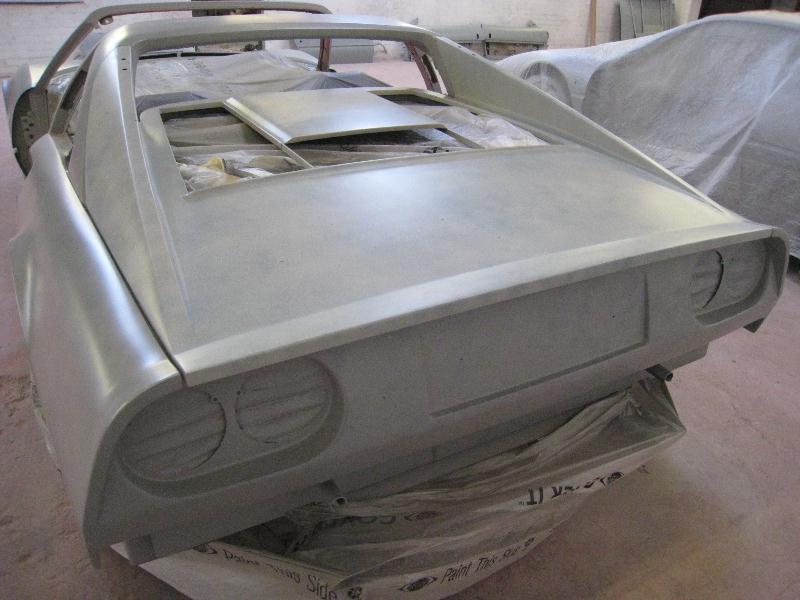
28th December, Al's notes - Engine lid & luggage lid etched, primed & guide coated, that's now everything at the same stage. I'll be starting to block the body down tomorrow. |
|
|
 |
|
 |
|
29th December, Al's notes - The body is fully blocked down with 180 grade sandpaper on a 440mm sanding block.
Just the awkward areas to do now! |
|
|
|
|
 |
|
 |
|
| 31st December, Al's notes - All of the final 1st sanding done, all of the areas with imperfections (shape) have been stoppered up (an ultra fine filler), the worst being a panel from behind the n/s/r wheelarch, obviously there from the factory & fairly slight, but needed doing anyway. Now I know the door lines are correct, the doors are removed. Final high build prime over the stoppered areas & guide coated. |
|
|
|
|
|
 |
|
 |
|
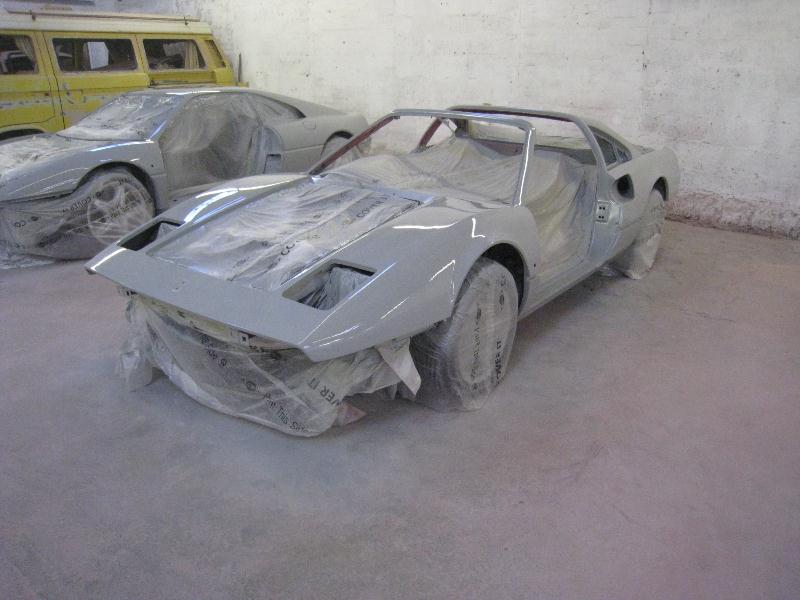
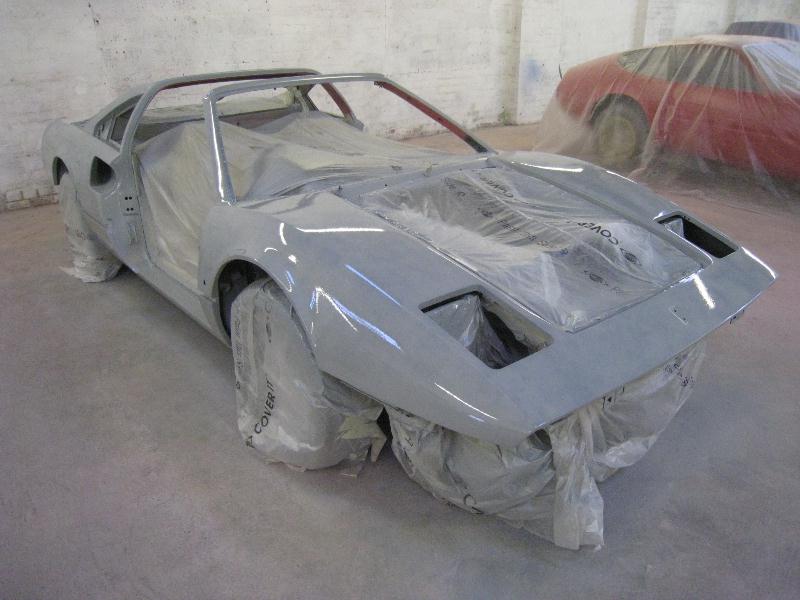
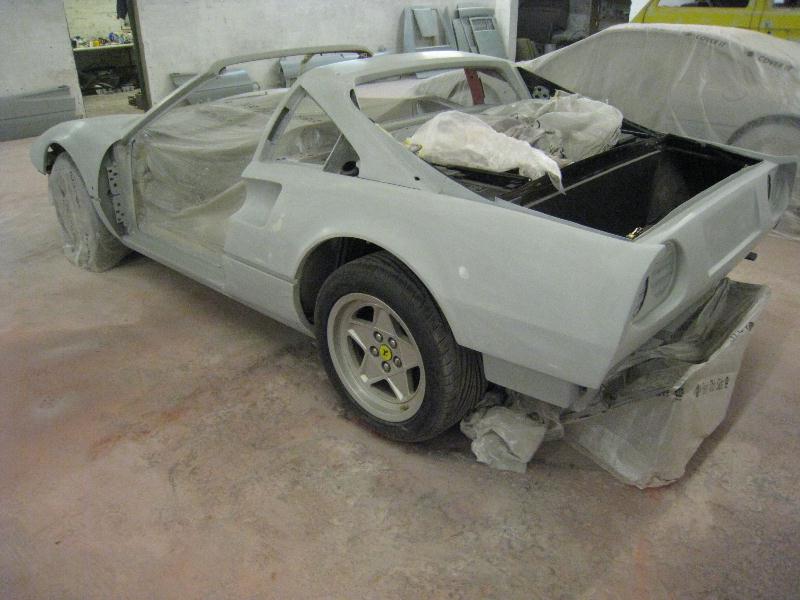
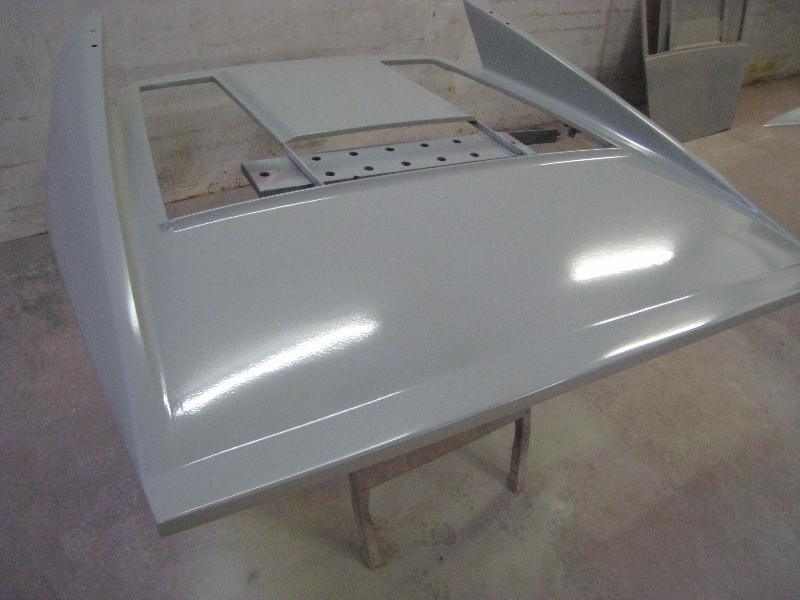
| 3rd January, Al's notes - The wet on wet primer is on (3 coats). Basically the reason for using this is that it 1) has a sheen to it which enables a good double check of the shape & if anything has been missed, 2) it gives an excellent 'intermediate' bond between the high build primer & the colour. This will now be blocked down with 400grade dry cut sandpaper & then 600. She's also had another guide coat (2nd set of pics). |
|
|
|
 |
|
 |
|
| 4th January, Al's notes - The door frames prepared & doors cleaned off & wet on wet primed & guide coated. She should be somewhere near having the colour on by the end of the week - sure on Rosso Corsa??, I'm aiming to do a final fit on the engine lid & luggage lid tomorrow before the final prep on the body. |
|
|
|
 |
|
 |
|
| 5th January, Al's notes - Luggage lid fitted & 'adjusted'! (I.e it now fits!!!!) Engine lid fitted, aligned & checked for levels & gaps. Nearly finished blocking the wet on wet primer - just the n/s/r quarter, rear panel & door shuts left to do. |
|
|
|
 |
|
 |
|
| 6th January, Al's notes - All of the final blocking & detail sanding now finished. Rear buttress seams sealed up |
|
|
|
 |
|
 |
|
| 7th January, Al's notes - Masking removed & car all cleaned down. |
|
|
|
|
 |
|
 |
|
|
|
|
|
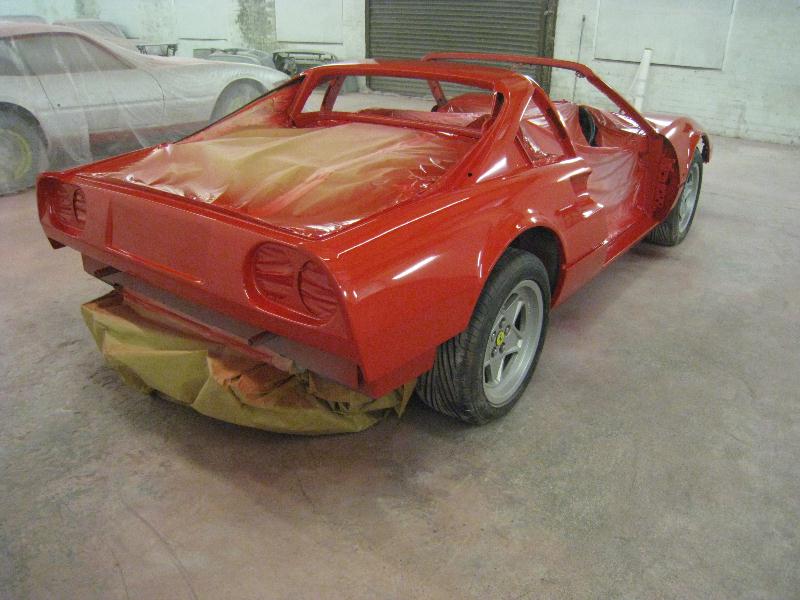
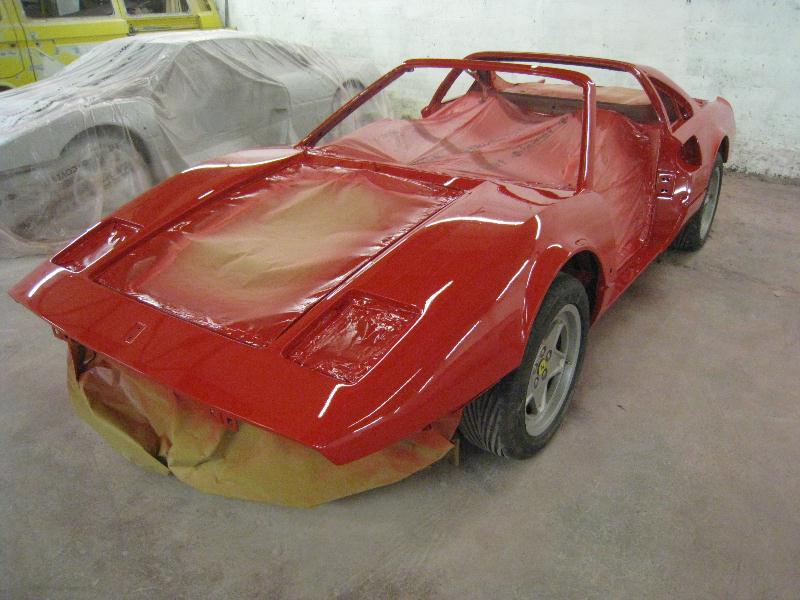
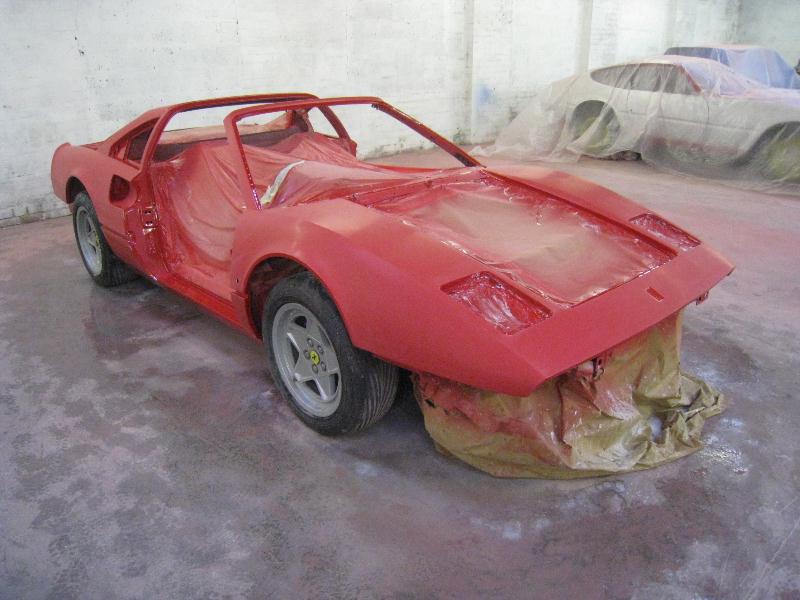
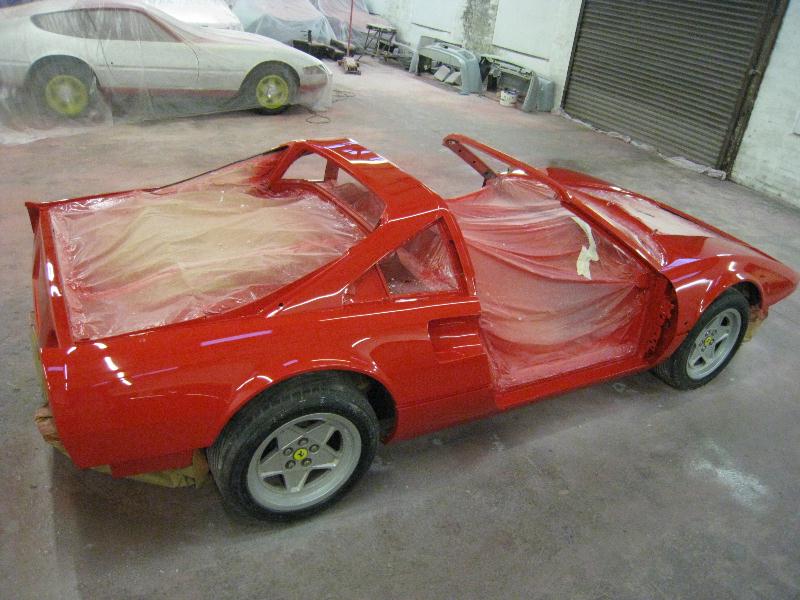
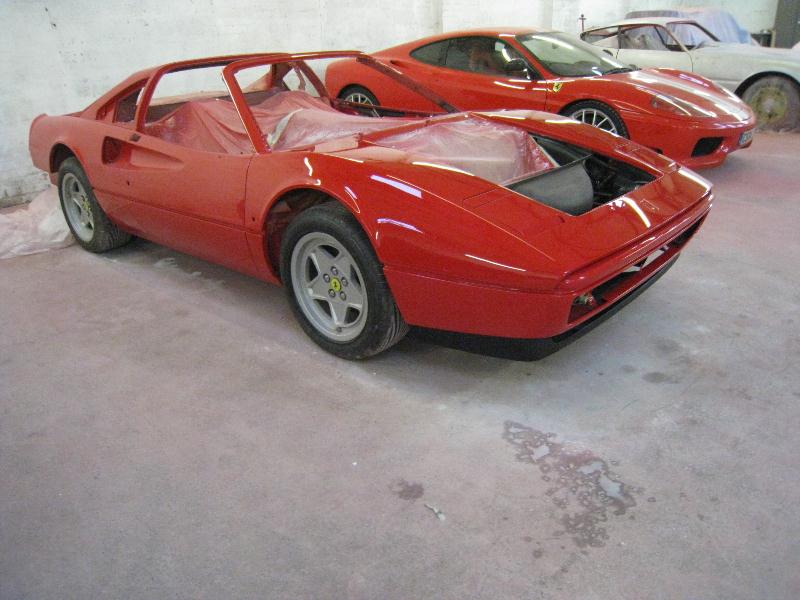
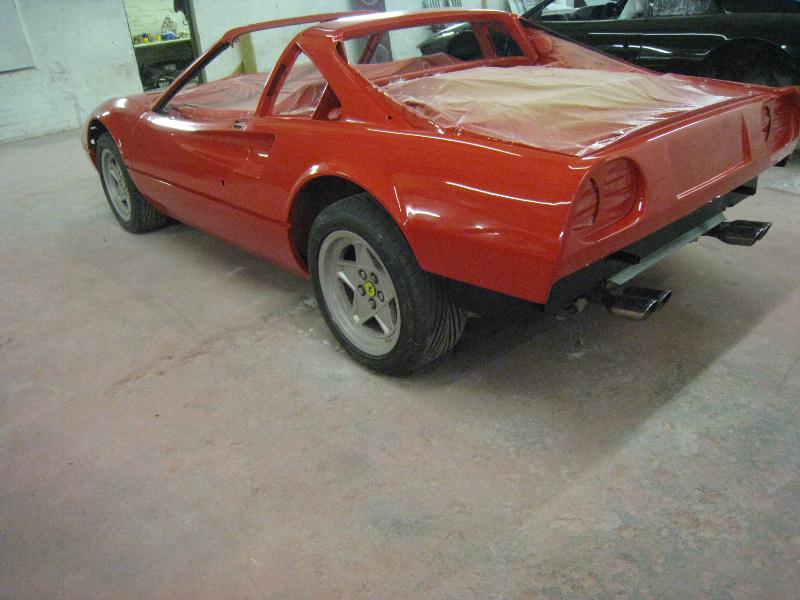
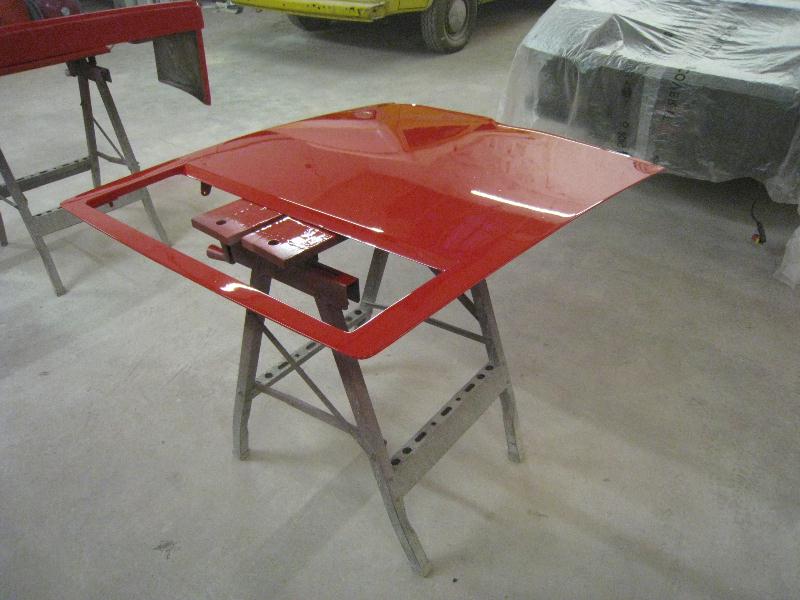
8th January, Al's notes - It's Red again! Obviously she now needs blocking down & polishing & the satin black in the door shuts etc. |
|
 |
|
|
|
|
 |
|
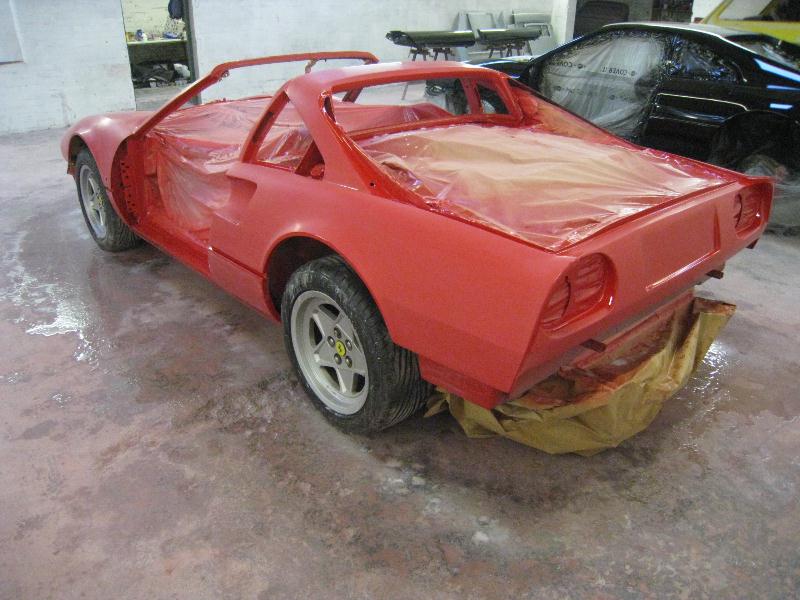
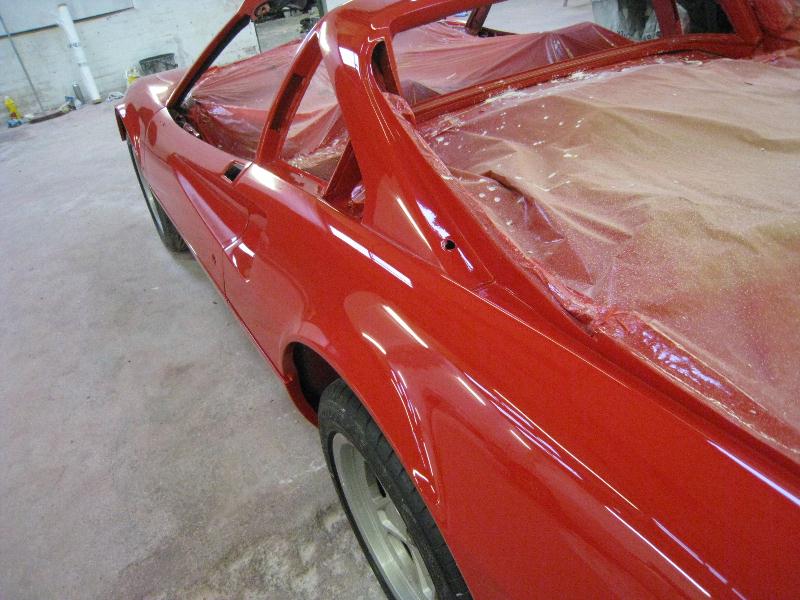
| 11th January, Al's notes - She's all blocked down with 800, 1200 & 1500 grade sandpaper. Next stage is to dry sand with 2000 by machine & then machine polish. |
|
|
|
 |
|
 |
|
|
|
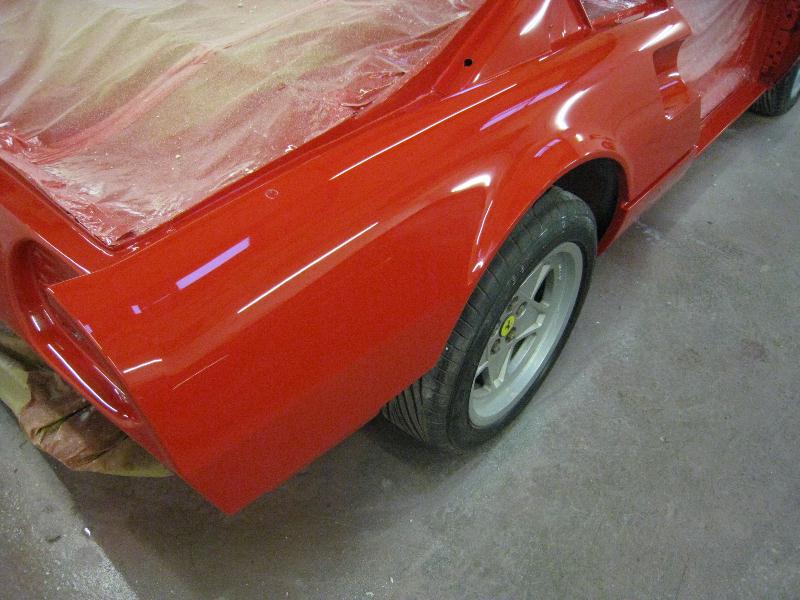
| 12th January, Al's notes - Machine flatting & polishing done. 'A' post satin black done. |
|
|
 |
|
 |
|
|
|
13th January, Al's notes - O/s door blocked down & polished. Satin black done on door shut. Door shut built up (check strap, door light wiring etc, all cleaned & fitted with new stainless fixings.) Door fitted & aligned. |
|
|
 |
|
 |
|
| 14th January, Al's notes - Pretty much ditto on yesterday's description, but for the n/s. |
|
|
|
|
 |
|
 |
|
|
|
|
| 16th January, Al's notes - Front bumper, headlamp pods, fillet panels & cover panels all prepared & painted |
|
|
 |
|
 |
|
|
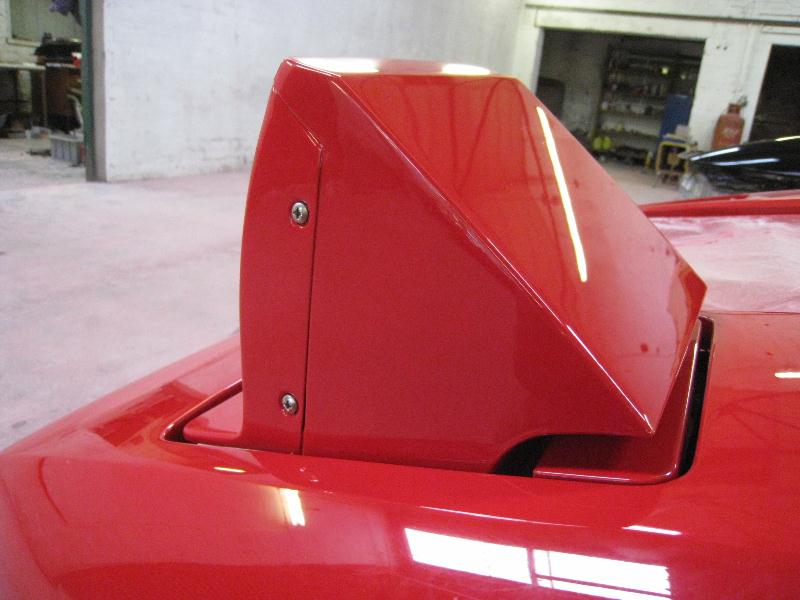
| 18th January, Al's notes - n/s headlamp pod flatted & polished, fillet panle flatted & polished & cover panle flatted & polished. headlamp assy fitted to pod, Assy fitted to car & aligned, Fillet panel fitted & aligned, Cover panel fitted with new stainless steel screws (screw heads aligned correctly) |
|
|
 |
|
 |
|
|
|
19th January, Al's notes -o/s headlamp assy flatted down, polished, built, fitted & aligned, (with stainless & screw heads aligned) All of the areas behind the front bumper have been cleaned back, filters re-fitted & a few areas masked, prepped & re-painted satin black. Front bumper flatted down & polished. Prepped & masked for satin black & sprayed. Bumper fitted & aligned |
|
 |
|
 |
|
|
|
|
21st January, Al's notes - Back end masked off, prepped & painted satin black. Engine lid blocked down & ready for wet on wet priming |
|
|
 |
|
 |
|
| 22nd January, Al's notes - engine lid wet on wet primed. I'm aiming to paint the luggage lid, door handles & rear bumper tomorrow. |
|
|
 |
|
 |
|
|
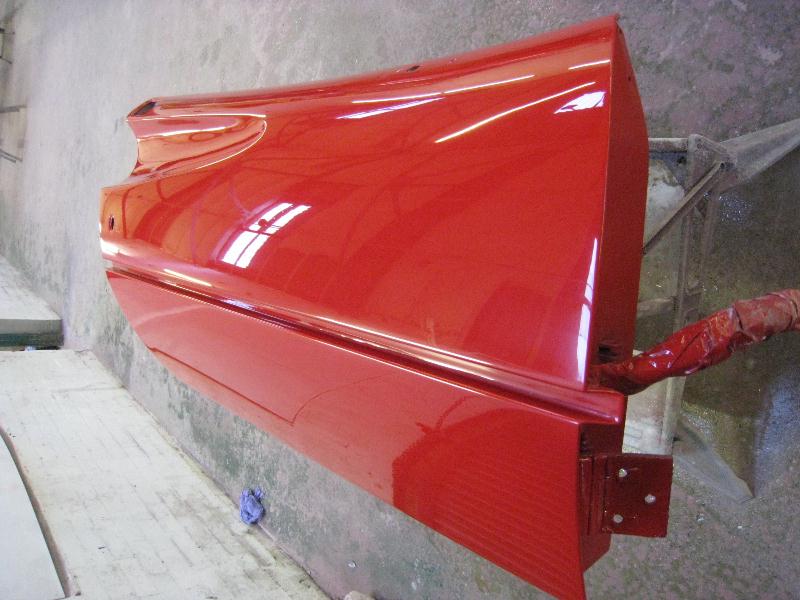
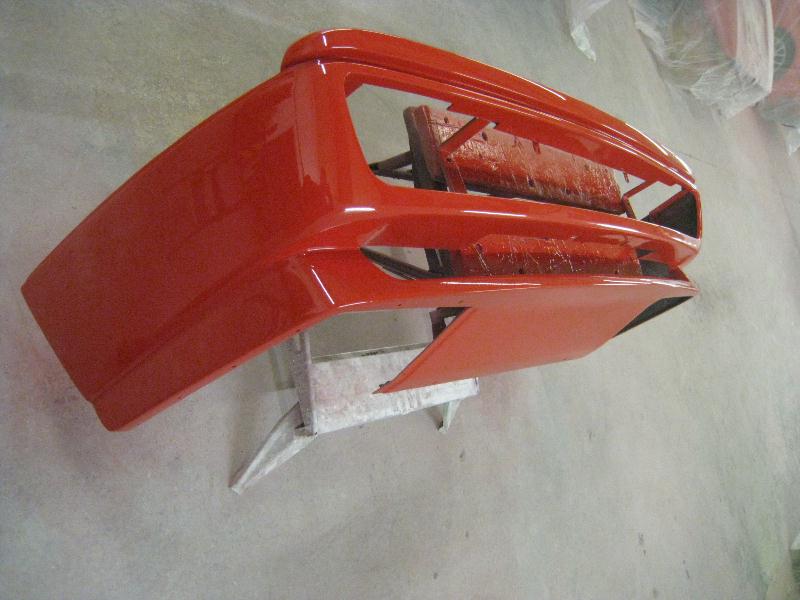
| 23rd January, Al's notes -Luggage lid, rear bumper & door handles final prep & painted. |
|
|
 |
|
 |
|
|
|
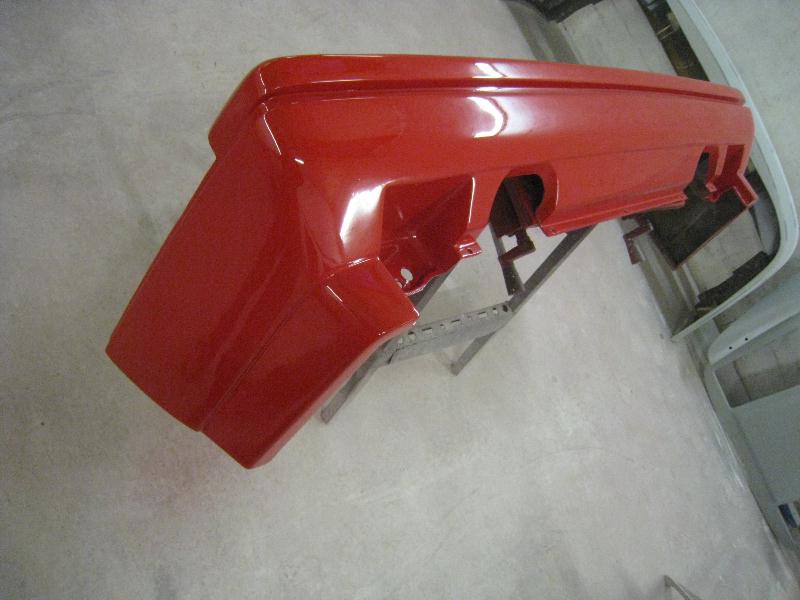
24th January, Al's notes - Rear bumper flatted & polished, satin black painted & fitted. Door handles ditto, gaskets fitted & handle assy's fitted. |
|
|
 |
|
 |
|
|
27th January, Al's notes - Both doors built up - catch assemblies bench polished & fitted, all riveting done with correct anodised black rivets (not the std available aluminium ones), courtesy light surrounds bench polished & fixing screws ditto. New stainless steel fixings used where possible - new anodised black used otherwise. Quarterlight surrounds repainted in satin black. Door handle cables adjusted. Rear window fitted, rear parcel shelf trim etc fitted & rear grille hinges fitted & n/s/r quarterlight glass fitted. |
|
 |
|
 |
|
|
|
|
|
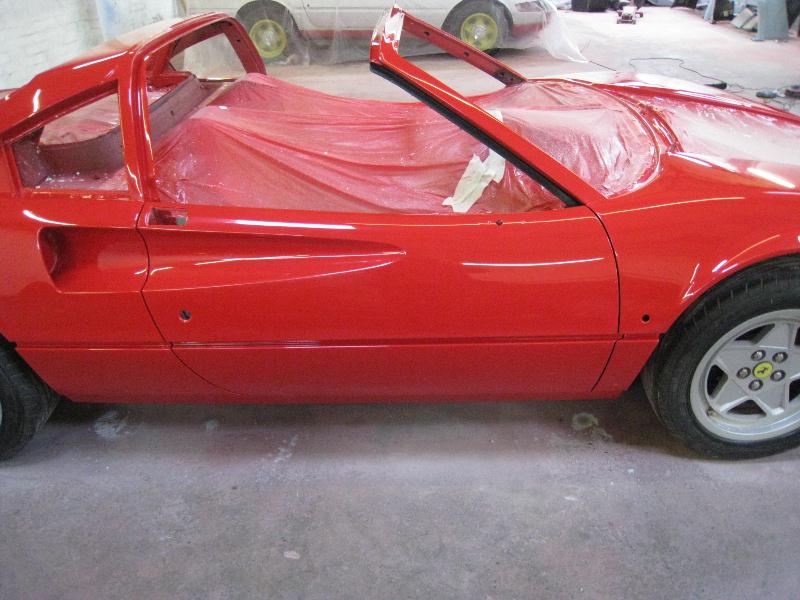
| 28th January, Al's notes - Finished fitting the rear glass & the grilles fitted. Tail lamps fitted. Luggage lid blocked down & polished, front end re-fitted & aligned |
|
|
 |
|
 |
|
|
| 2nd February, Al's notes - Engine lid & front intake grille painted |
|
|
 |
|
 |
|
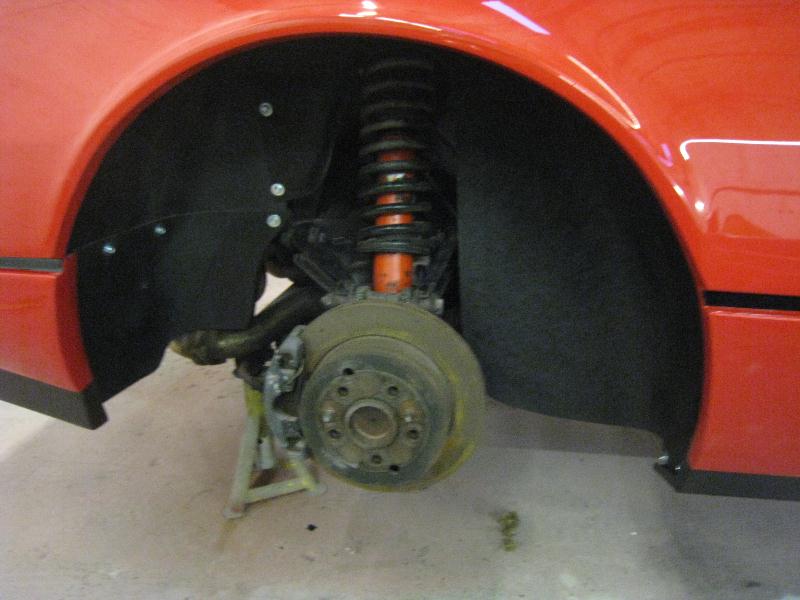
| 4th February, Al's notes - Wheels removed for painting, Sills painted Satin Black, Stripe fitted, Rear wheelarch areas cleaned (including petrol tanks), Rear wing intake ducts cleaned, repainted & re-fitted. Rear wheelarch liners painted & fitted with new stainless fixings. |
|
|
 |
|
 |
|
|
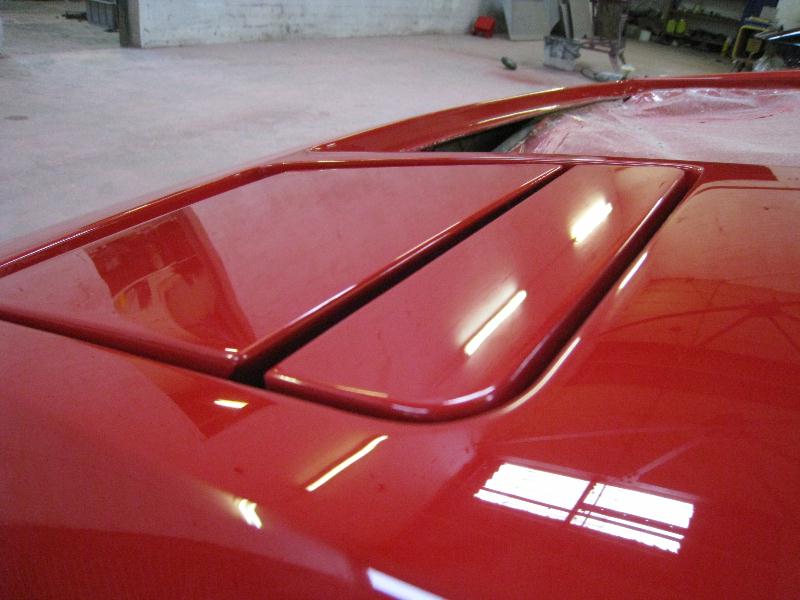
6th February, Al's notes - Engine lid blocked down, polished, fitted & aligned, Grilles fitted (with the correct anodised black rivets). |
|
|
 |
|
 |
|
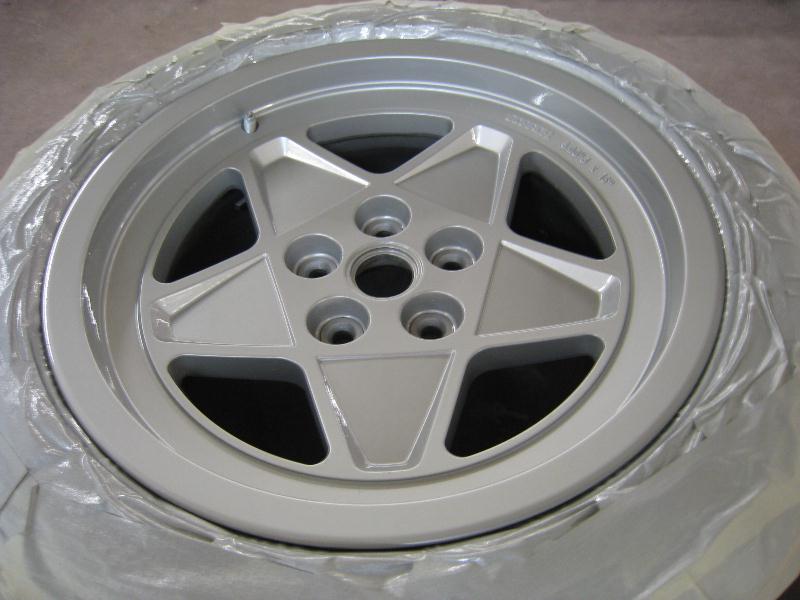
| 8th February, Al's notes - Wheels (finally!) prepped & painted. (In the correct 'flat' silver). Rear seams sealed in black over the paint. Engine lid ephemera fitted (as always with the correct anodised black rivets etc). |
|
|
 |
|
 |
|
|
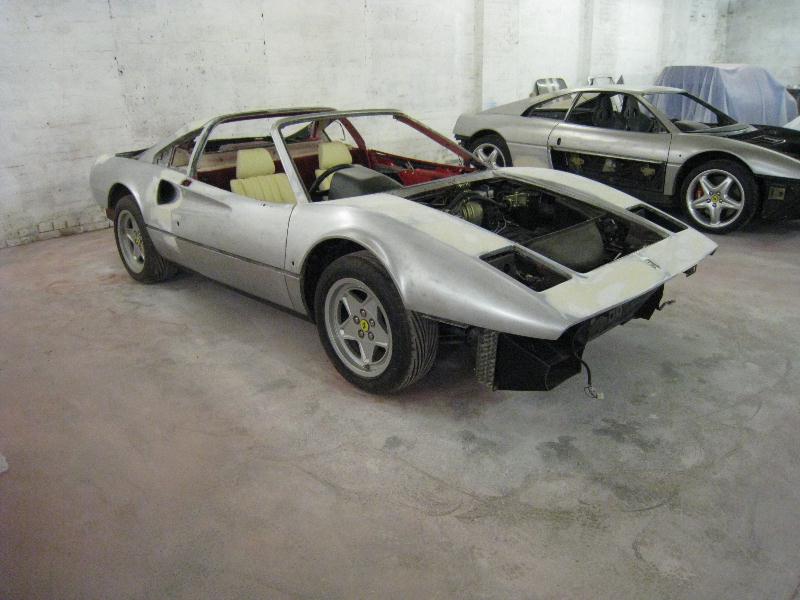
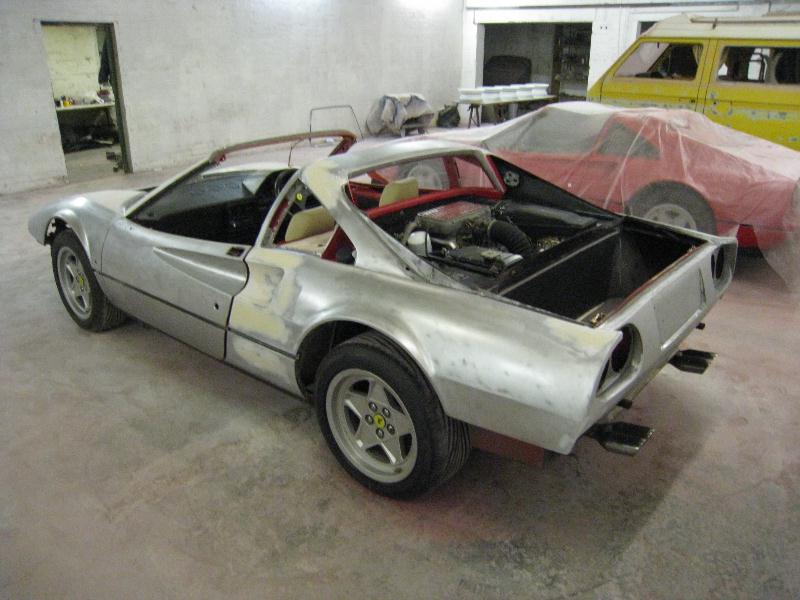
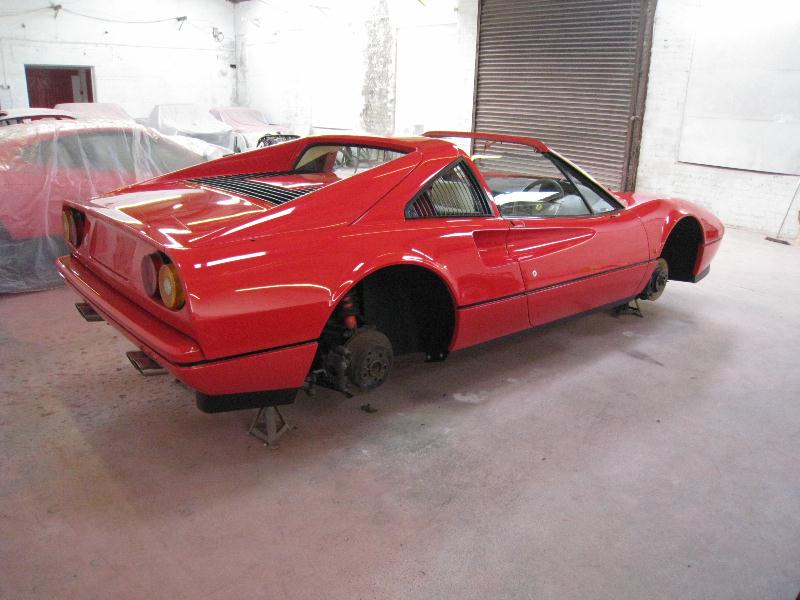
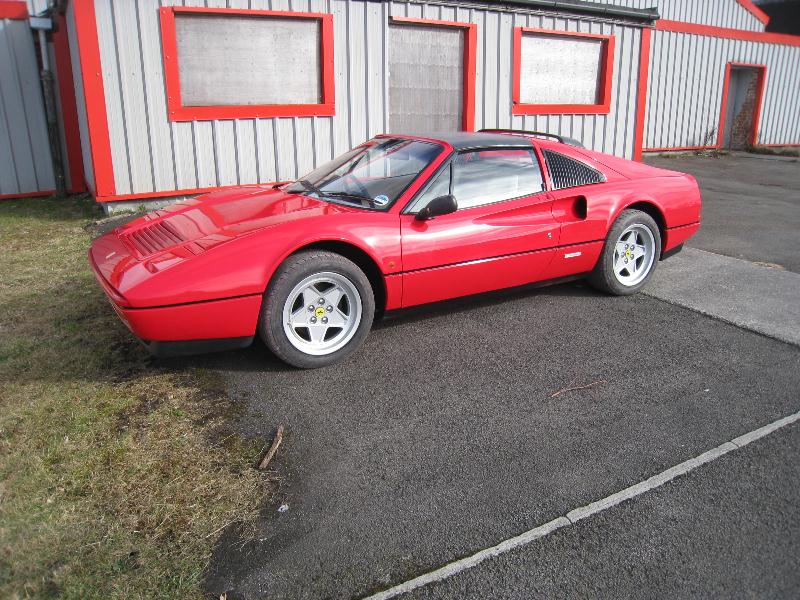
| 17th February, Al's notes - Finished the rebuild. Ran her outside (always worth checking nothing has been missed as different lights show different things) |
|
|
 |
|
 |
|
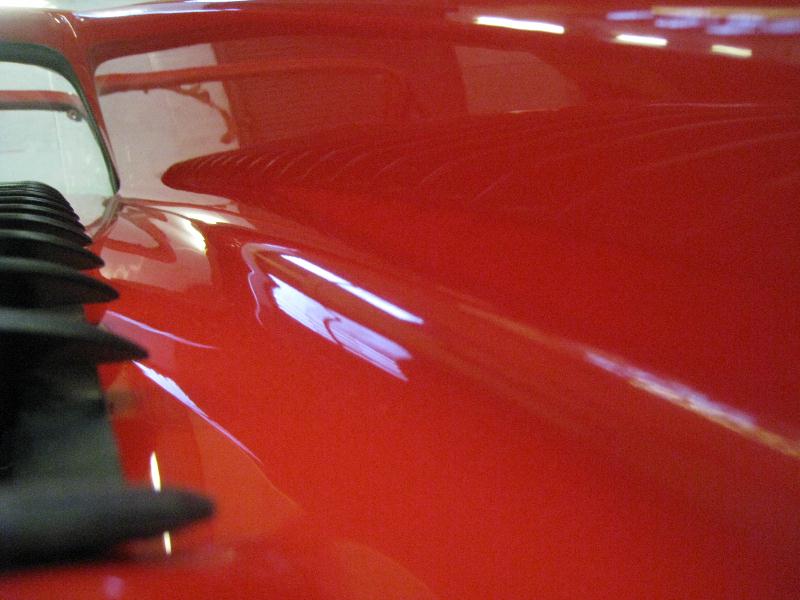
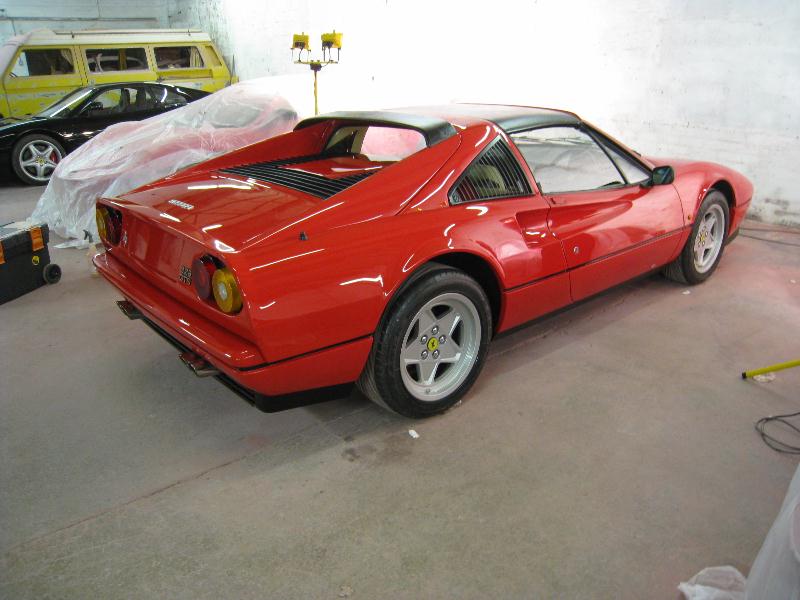
| 18th February, Al's notes - Car finished by Sportscar Protecction, taken a few pics of Dave's work. He's done a lovely job (as always). |
|
|
|
 |
|
 |
|
|
|
 |
 |
|
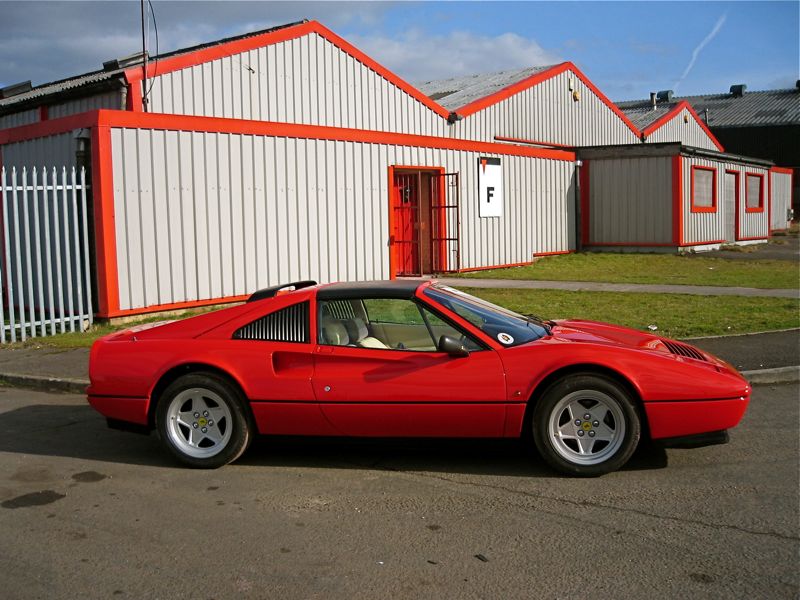
| 20th February, - Back to Wales to collect the Car, the finish is fantastic, huge thanks to Al for a great job and the extra work of taking all the pics and keeping me updated virtually every day |
|
|
 |
|
|
|
|
 |
|
|
 |
|
Full set of 340+ pics are online here
|
|
|
|
|
|
|
|
|
|
|
|
|
|
|
|
|
|
|
|
|
|
|
|
|
|
|
|
|
|
|
|
|
|
|
|
|
|
|
|
|
|
|